My “daughter” April made the cutest little dressy cardigan from a ruffle front knit top she found at a thrift store. She can wear it with just about anything . When I first saw her wearing it at her college graduation banquet, and complimented her on it, she explained how simple it was to make. I was so impressed, that I began searching for the perfect top to make one of my own.
 April found a ruffled U-neck shirt made out of T-shirt material. The shirt was too tight to wear, but she might be able to make it into a cardigan. She simply cut the knit top right down the center front, and added a button closure. It has not raveled or unraveled (which I guess mean the same thing) and she has now had it for over two years.
I knew that I “needed” to try making one myself, so over the next year I searched through thrift stores and clearance racks for the perfect pullover.
While shopping the clearance racks at KOHLs with a $10 coupon received in the mail, I came upon a silver pullover with a ruffled V-neck, and tried it on. It was a bit tight, so I looked a little further and found one a size larger. It fit well, and the style looked like it would work to make a ruffled front cardigan for myself. The big bonus was that it was on clearance for less than $10, so I was able to get it for FREE!
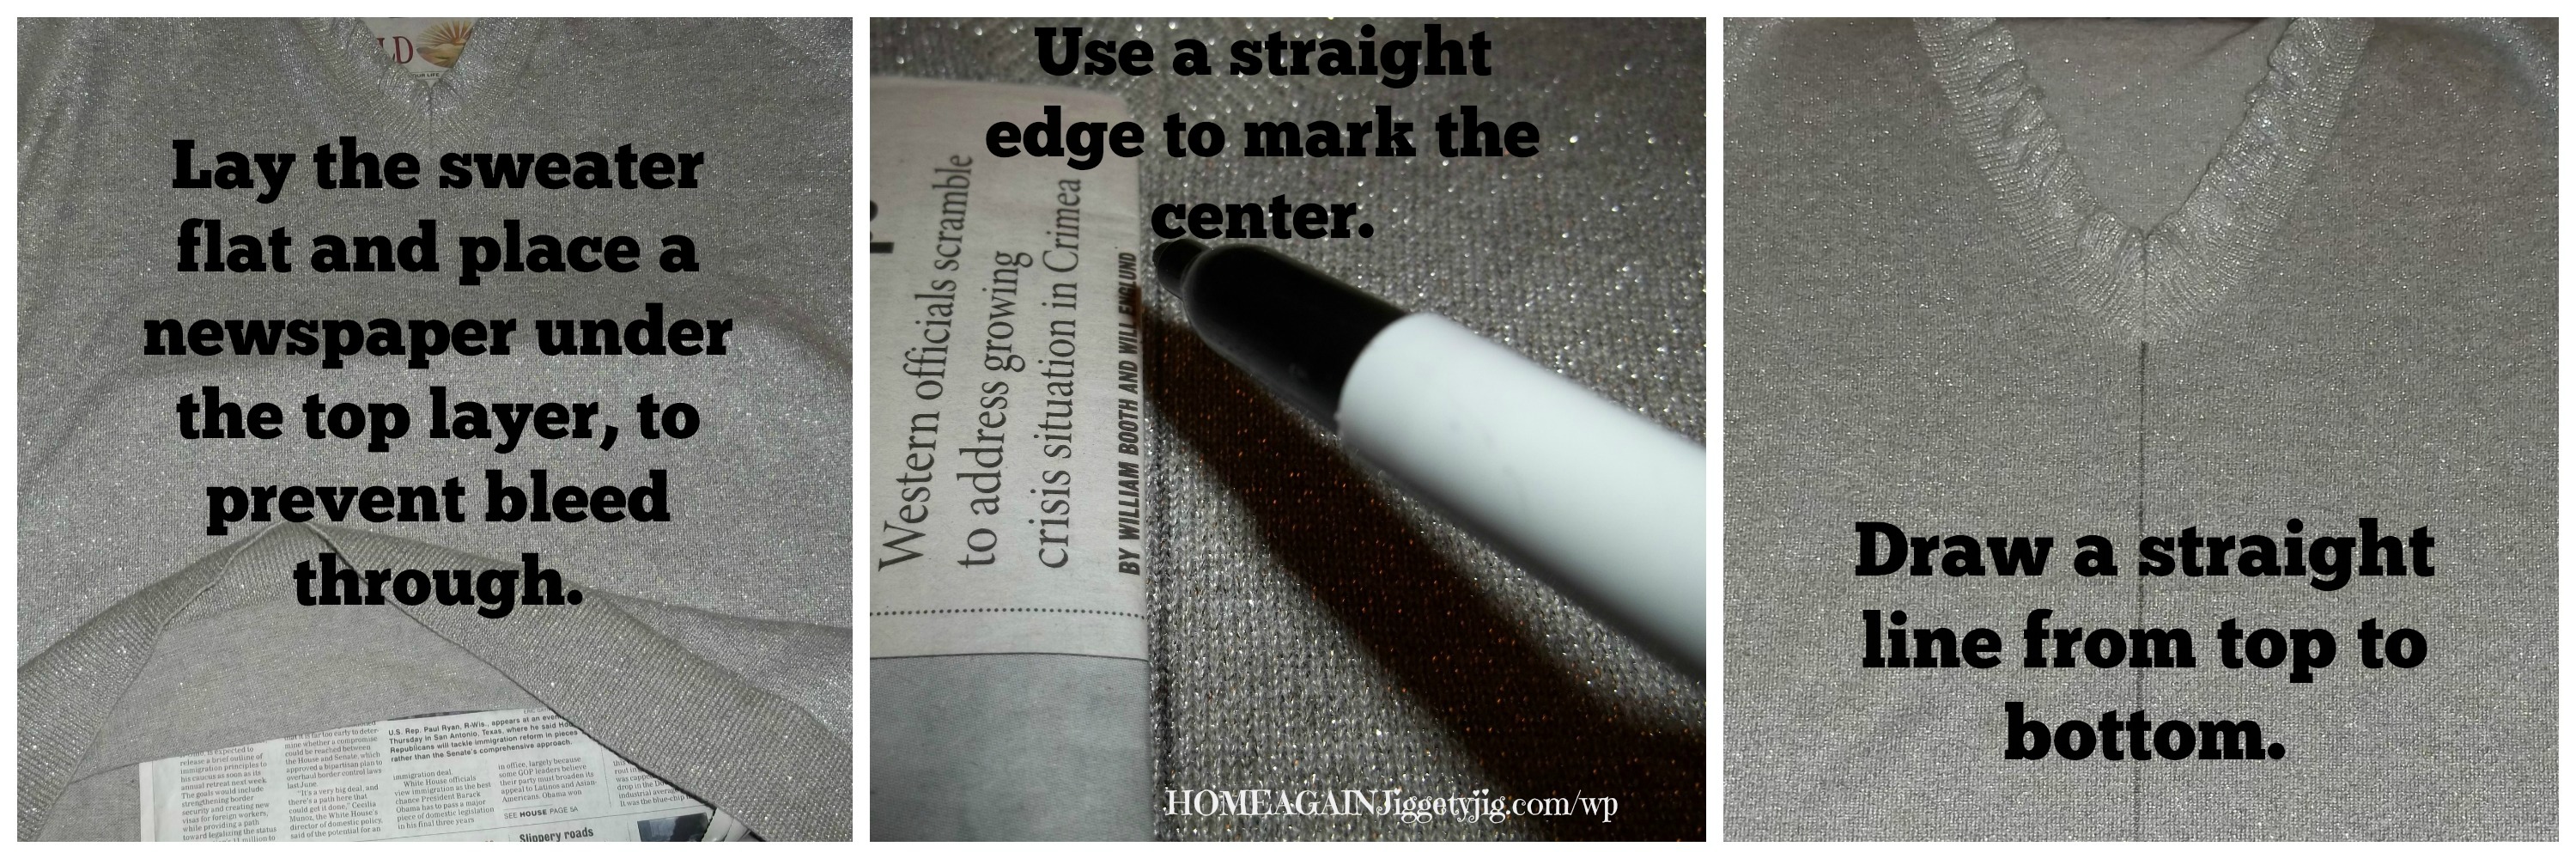
The first step is to lay the sweater on a flat surface and determine the center front.
Place a layer of newspaper under the sweater to help prevent bleed-over onto the back of the pullover, while marking it.
Using a straight edge, (I used the edge of a newspaper as the straight edge) draw a line down the center, from top to bottom, with a permanent marker .

The next step is to undo the stitching holding the ruffles together at the top.

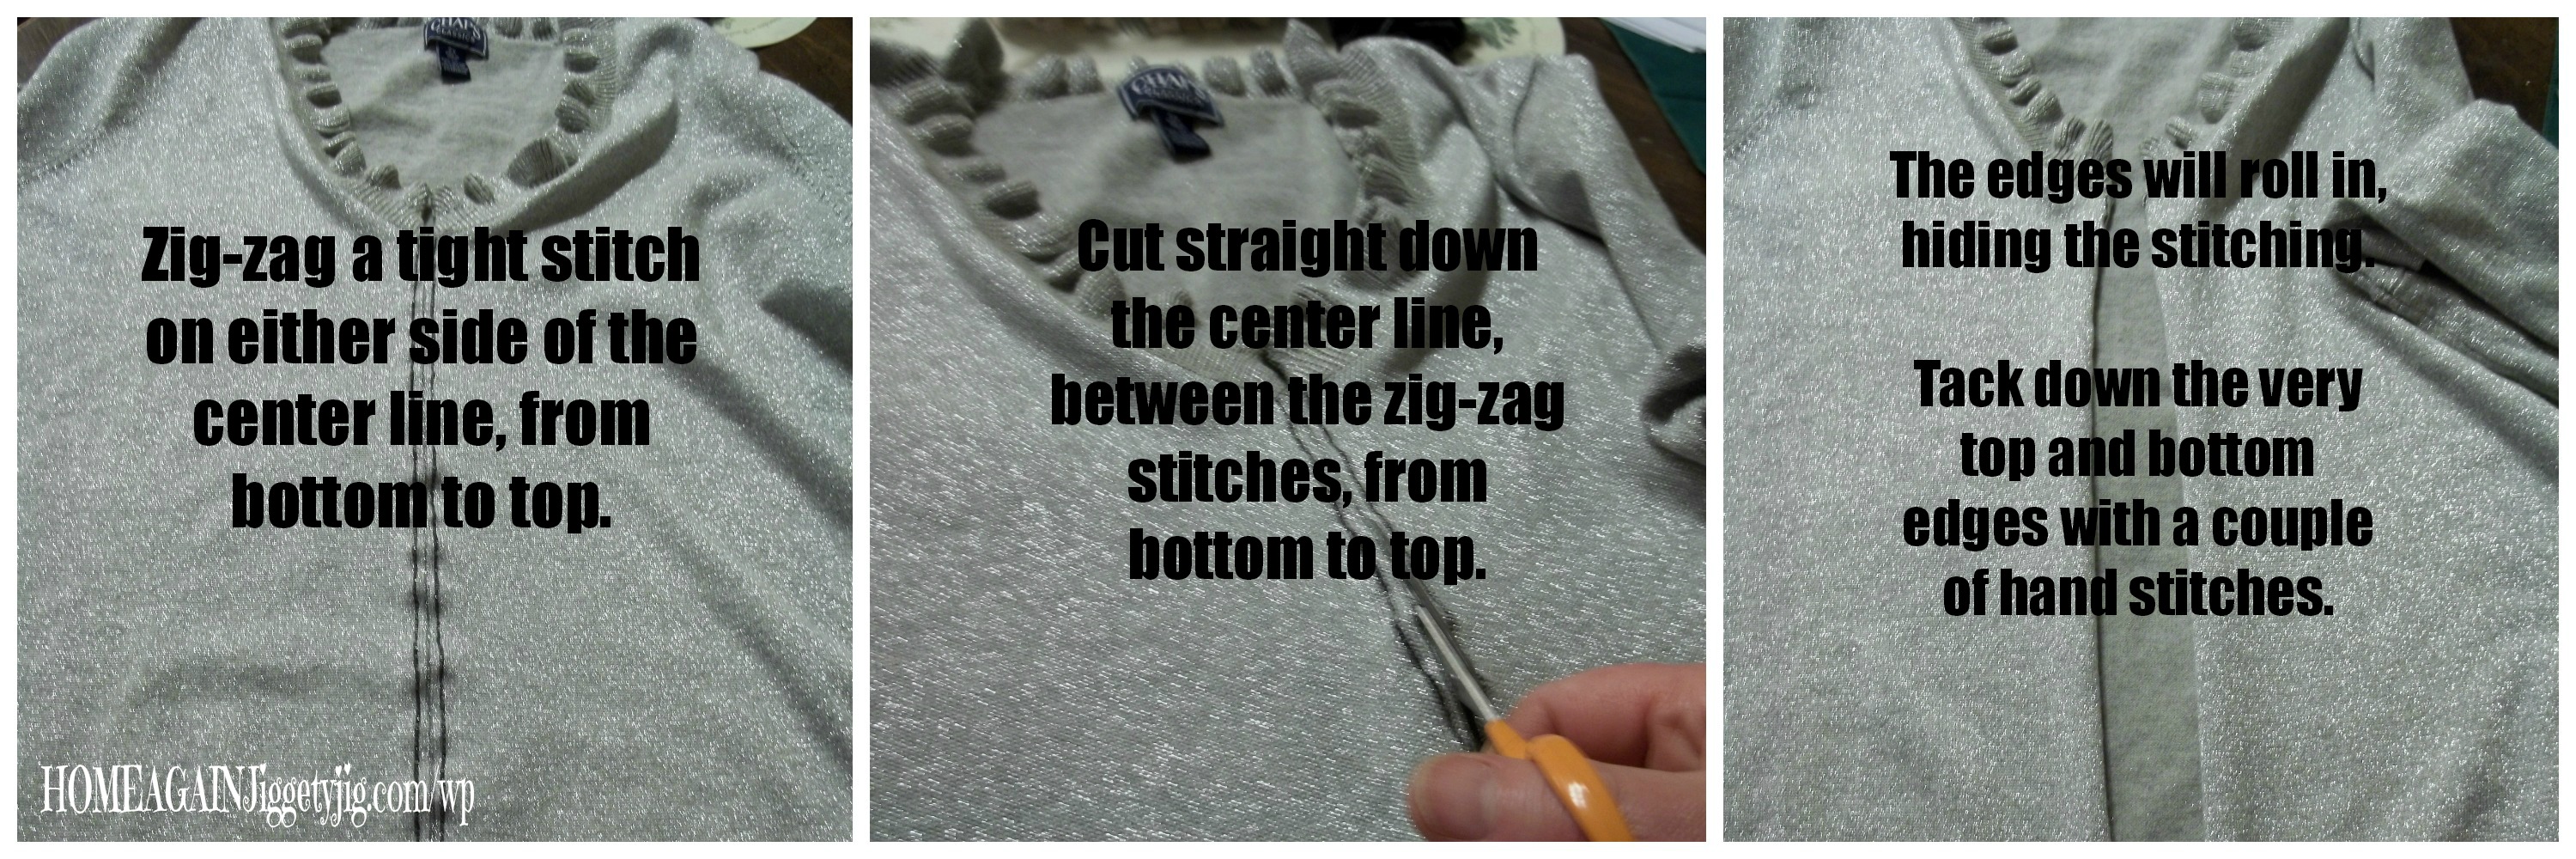
Next zigzag a tight stitch on both sides of the center line to prevent unraveling making sure you only sew through the top layer. If you are making your cardigan out of T-shirt material, you can skip this step. With all other knit materials this step in important.
Carefully cut straight down the center line, making certain that you only cut the top layer.
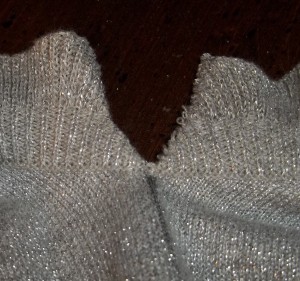
The edge should immediately curl under, which would be the desired results.
After tacking down the top and bottom edges, it will be ready to wear!
In just about an hour, on a Saturday night, I was able to transform the pullover into a pretty cardigan, and wore it to church the next day.
Note: April added a button to the front of her cardigan, I chose not to.
![mFOOpAHUAJ_0siJVj_aCaqg[1]](http://homeagainjiggetyjig.com/wp/wp-content/uploads/2014/07/mFOOpAHUAJ_0siJVj_aCaqg1.jpg)


So cute and looks super easy! Perfect addition to an outfit, even if you need some in a bind.
This fits right in your niche, Kayla. It can give old things new life (in my case – not old) by re-purposing them.
I always love finding ways to repurpose things and make them better. This turned out fantastic.
I am pretty pleased with the results – it turned out even better than I had imagined. I now look for ways to wear this cardigan.
Great Idea! Love this, I have a few old sweaters to give it a try 🙂
I’m in the process of decluttering, and as I sort through my clothing, I am hoping to find some more candidates.
What a great idea to turn a shirt into a cardigan and for free! The ruffles add the perfect finishing touch!
I know! My friend “daughter” April was the impetus and I love that cardigan – wearing it often.
Very cute! I love ways to upcycle clothes I’m not wearing. 🙂
I’m looking through my clothing and seeing what I can find to upcycle into new cardigans.
Such a great way to revamp an old cloth! Looks terrfic!
I know!! Make something new out of something old.