Preparing to roast a turkey can be an overwhelming job. There is much advice out there, but as a Home Economist, I have carefully studied this for more than 40 years, and have found that some of the advice, even from the Butterball hotline, does not always work. Here are 10 tips to roast the perfect turkey.
Roasting a turkey will be easy, if you follow these ten steps, about turkey preparation.
1. BUY EXTRA TURKEY IF YOU WANT LEFTOVERS
Most guides say to buy one pound per person. If you are planning on feeding 12 people, a 12 pound turkey will not give you any leftover meat. If you are thinking it will, you’d better have a LOT of side dishes. In order to have a turkey sandwich or two from the leftovers, don’t use the guide of one pound of turkey per person. Up it to at least 1 ½ to 2 pounds per person. We generally serve 7 to 9 folk, and will buy at least an 18 pound bird.
2. CHOOSE THE LEAST EXPENSIVE TURKEY
When purchasing a turkey, buy the cheapest frozen turkey you can find. The lowest prices for frozen turkeys in the US are always before Thanksgiving. Brand does not matter. A turkey is a turkey, (unless it is an organic or free range bird, which is another story.) The only difference is that a hen turkey has shorter legs than a tom, so you will get a little more meat per pound. A hen will generally weigh less than 16 lbs.
By law all turkeys cannot be given hormones. A few brands are injected with broth or a saline mixture. Some even have a “gravy packet” which you are buying at the same price per pound as that expensive brand name turkey. Some have a pop-up thermometer which doesn’t even work half the time. If you follow my directions, you can make a super moist turkey and amazing gravy without purchasing one of these “special” birds.
Make certain, if you are buying a frozen bird, that the wrapper has no holes in it. This will be important when defrosting.
3. ALLOW LOTS OF TIME FOR DEFROSTING
Here are detailed directions on how to Thaw a Frozen Turkey
You will NOT be able to fully defrost an 18 lb turkey in the refrigerator within 3 days, as the folk at Butterball suggest. Give it 5 days, on a tray, in the refrigerator. IF you don’t have room in the fridge or are limited for time to defrost it fully, you can choose from several options. Keep the turkey completely wrapped in its protective covering and:
1. Place it in a sink filled with cold water. Take note: It will definitely be a challenge to work in a kitchen with the sink filled with a defrosting turkey. 😉
2. Use a clean bathtub filled with cold water. Take extra care with this option, if you have small children or pets.
3. Use a large cooler filled with cold water. Place it away from small children and pets.
Always use a cold water bath. Check and replace the water often to make sure it stays nice and cold. Plan on defrosting for 30 minutes per pound of turkey
Though many suggest leaving the turkey at room temperature for an hour before roasting, this is never a safe thing to do. Bacteria multiplies rapidly any time either raw or cooked turkey is between 41* and 139*.
4. TO BE SAFE, DON’T STUFF YOUR TURKEY
Stuffing the turkey may seem like a divine idea, but your stuffing will likely end up wet and sticky and can become a haven for bacteria. A stuffed turkey will take longer to cook. Make your stuffing or dressing in a electric fry pan, or bake it in a separate casserole in the oven while the turkey roasts, or better yet make it ahead and you can keep it hot in a crock pot or electric fry pan until the turkey is ready. If you MUST stuff your turkey, do it loosely, put it into the cavity while the dressing is still hot, so that it doesn’t end up growing bacteria. Be sure and remove the stuffing quickly from the cooked turkey. Don’t let the turkey sit out for more than two hours.
5. USE A COOKING BAG OR FOIL
You will not be a wimp, if you use a turkey size cooking bag. It will get your turkey done in record time and keep it moist and delicious. You don’t have to spend the entire day cooking a turkey, and with a cooking bag, there is no basting. Follow the directions on the bag. The steps listed in this post are those I use with a cooking bag.
If you have some concerns about cooking with the nylon material that constructs a cooking bag, you can wrap your bird completely in heavy duty foil – Start cooking at 450* for about 30 minutes and then turn the heat down and finish cooking at 350*. I’ve tried this a couple of times, but was not as pleased with the results as I have been with the cooking bags. It also takes about one third more time than using the cooking bag. A dear friend has always cooked her turkey in foil at 450* for the entire time with great success.
6. GET HELP, IF NECESSARY!
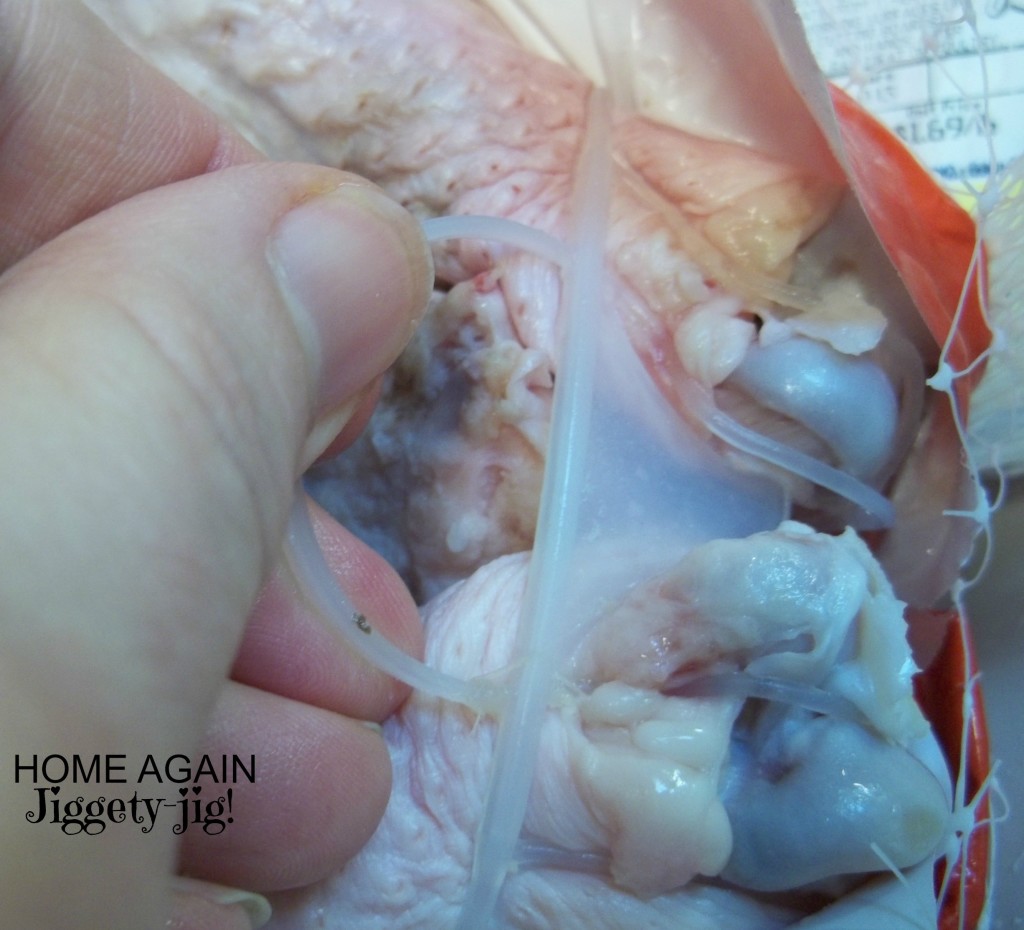
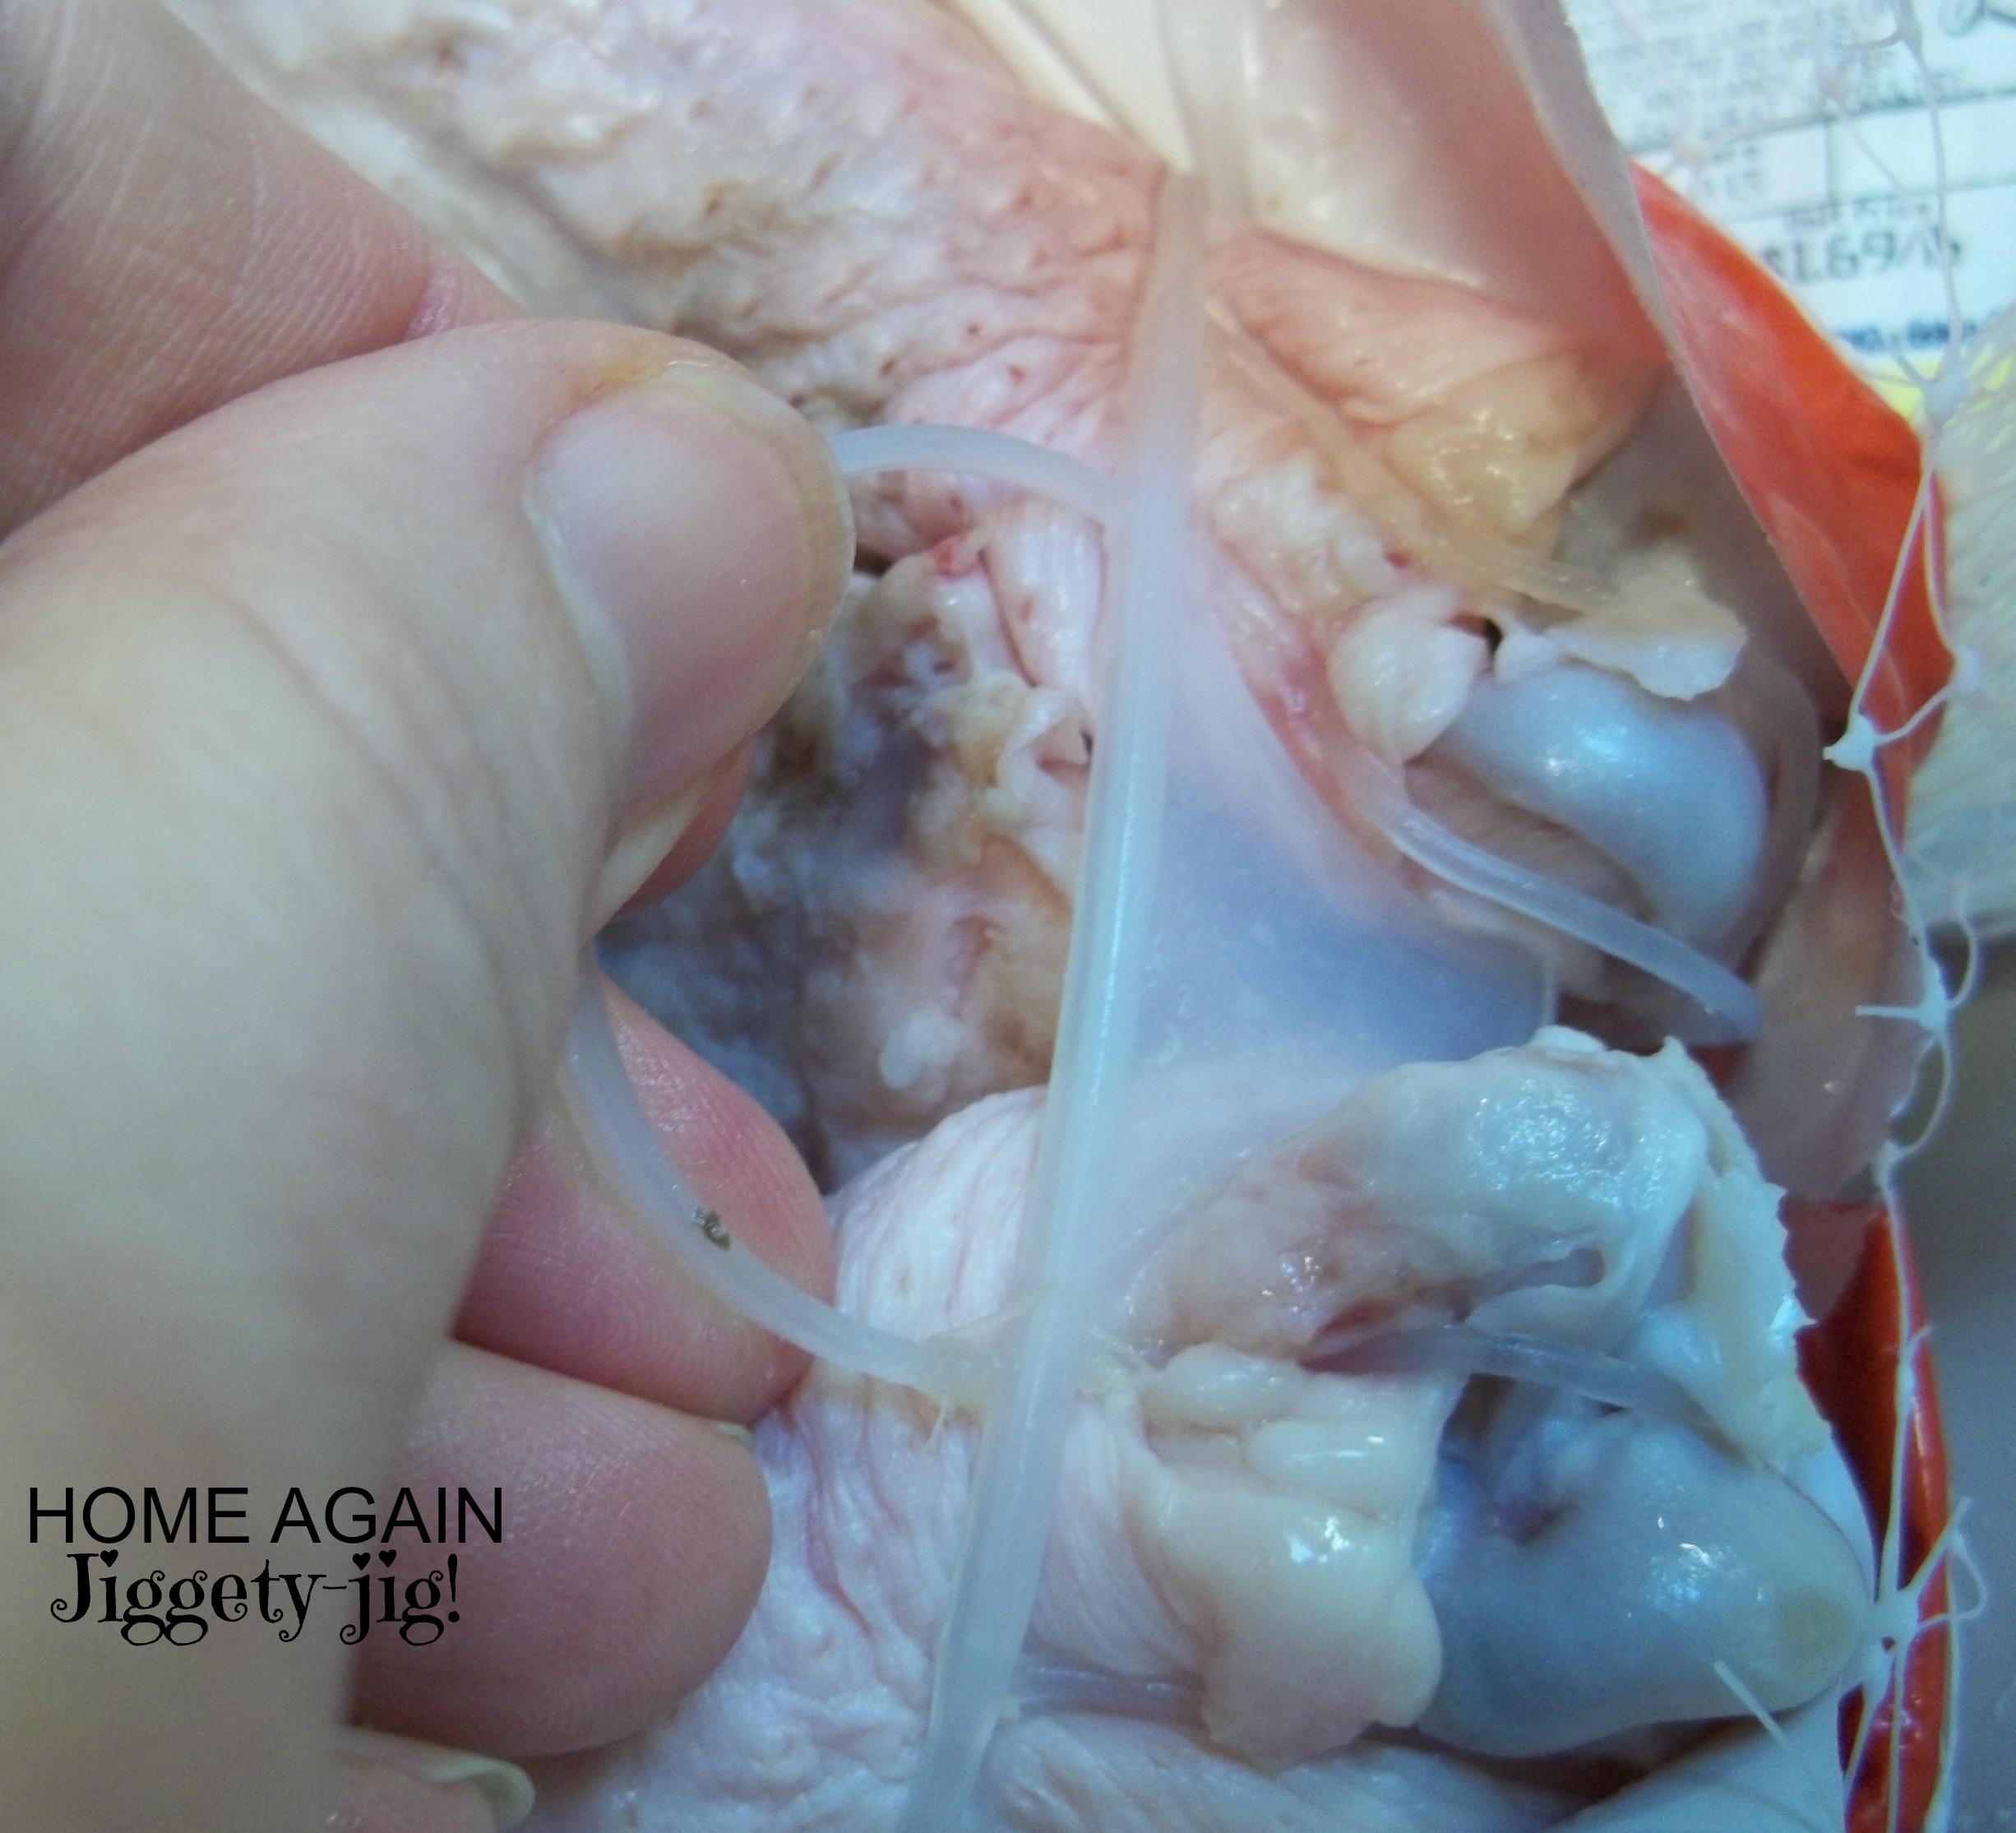
Clean the kitchen sink so it won’t be “germy.” Place the turkey, in it. Cut away the plastic covering, and pat the turkey dry with a paper towel. That crazy clamp(shown above) that they put in the rear end of the turkey will likely take 20 minutes or more to remove by yourself, use a heavy duty pair of kitchen shears, or . . . . GET HELP! An extra set of hands may be all you need.
Hopefully you can find an “Incredible Hulk” in your neighborhood who will force it out for you.
7.REMOVE THE HIDDEN “TREASURES”
The packet of giblets is hidden under a pouch of skin in the neck area of the turkey. Take it out before cooking, or you might just embarrass yourself by roasting it with the packet left inside. Don’t ask me how I know. 😉
Even if your turkey is thawed, the neck is likely frozen to the inside of the abdominal cavity this will also have to be manually removed. (see number 6)
8. OIL THAT BIRDf
Move your oven rack down to the lowest part of the oven.
Set the oven for 350*.
Choose a pan that is bigger than your bird, and at least a couple of inches deep. If it has a rack, that is nice, but is not necessary.
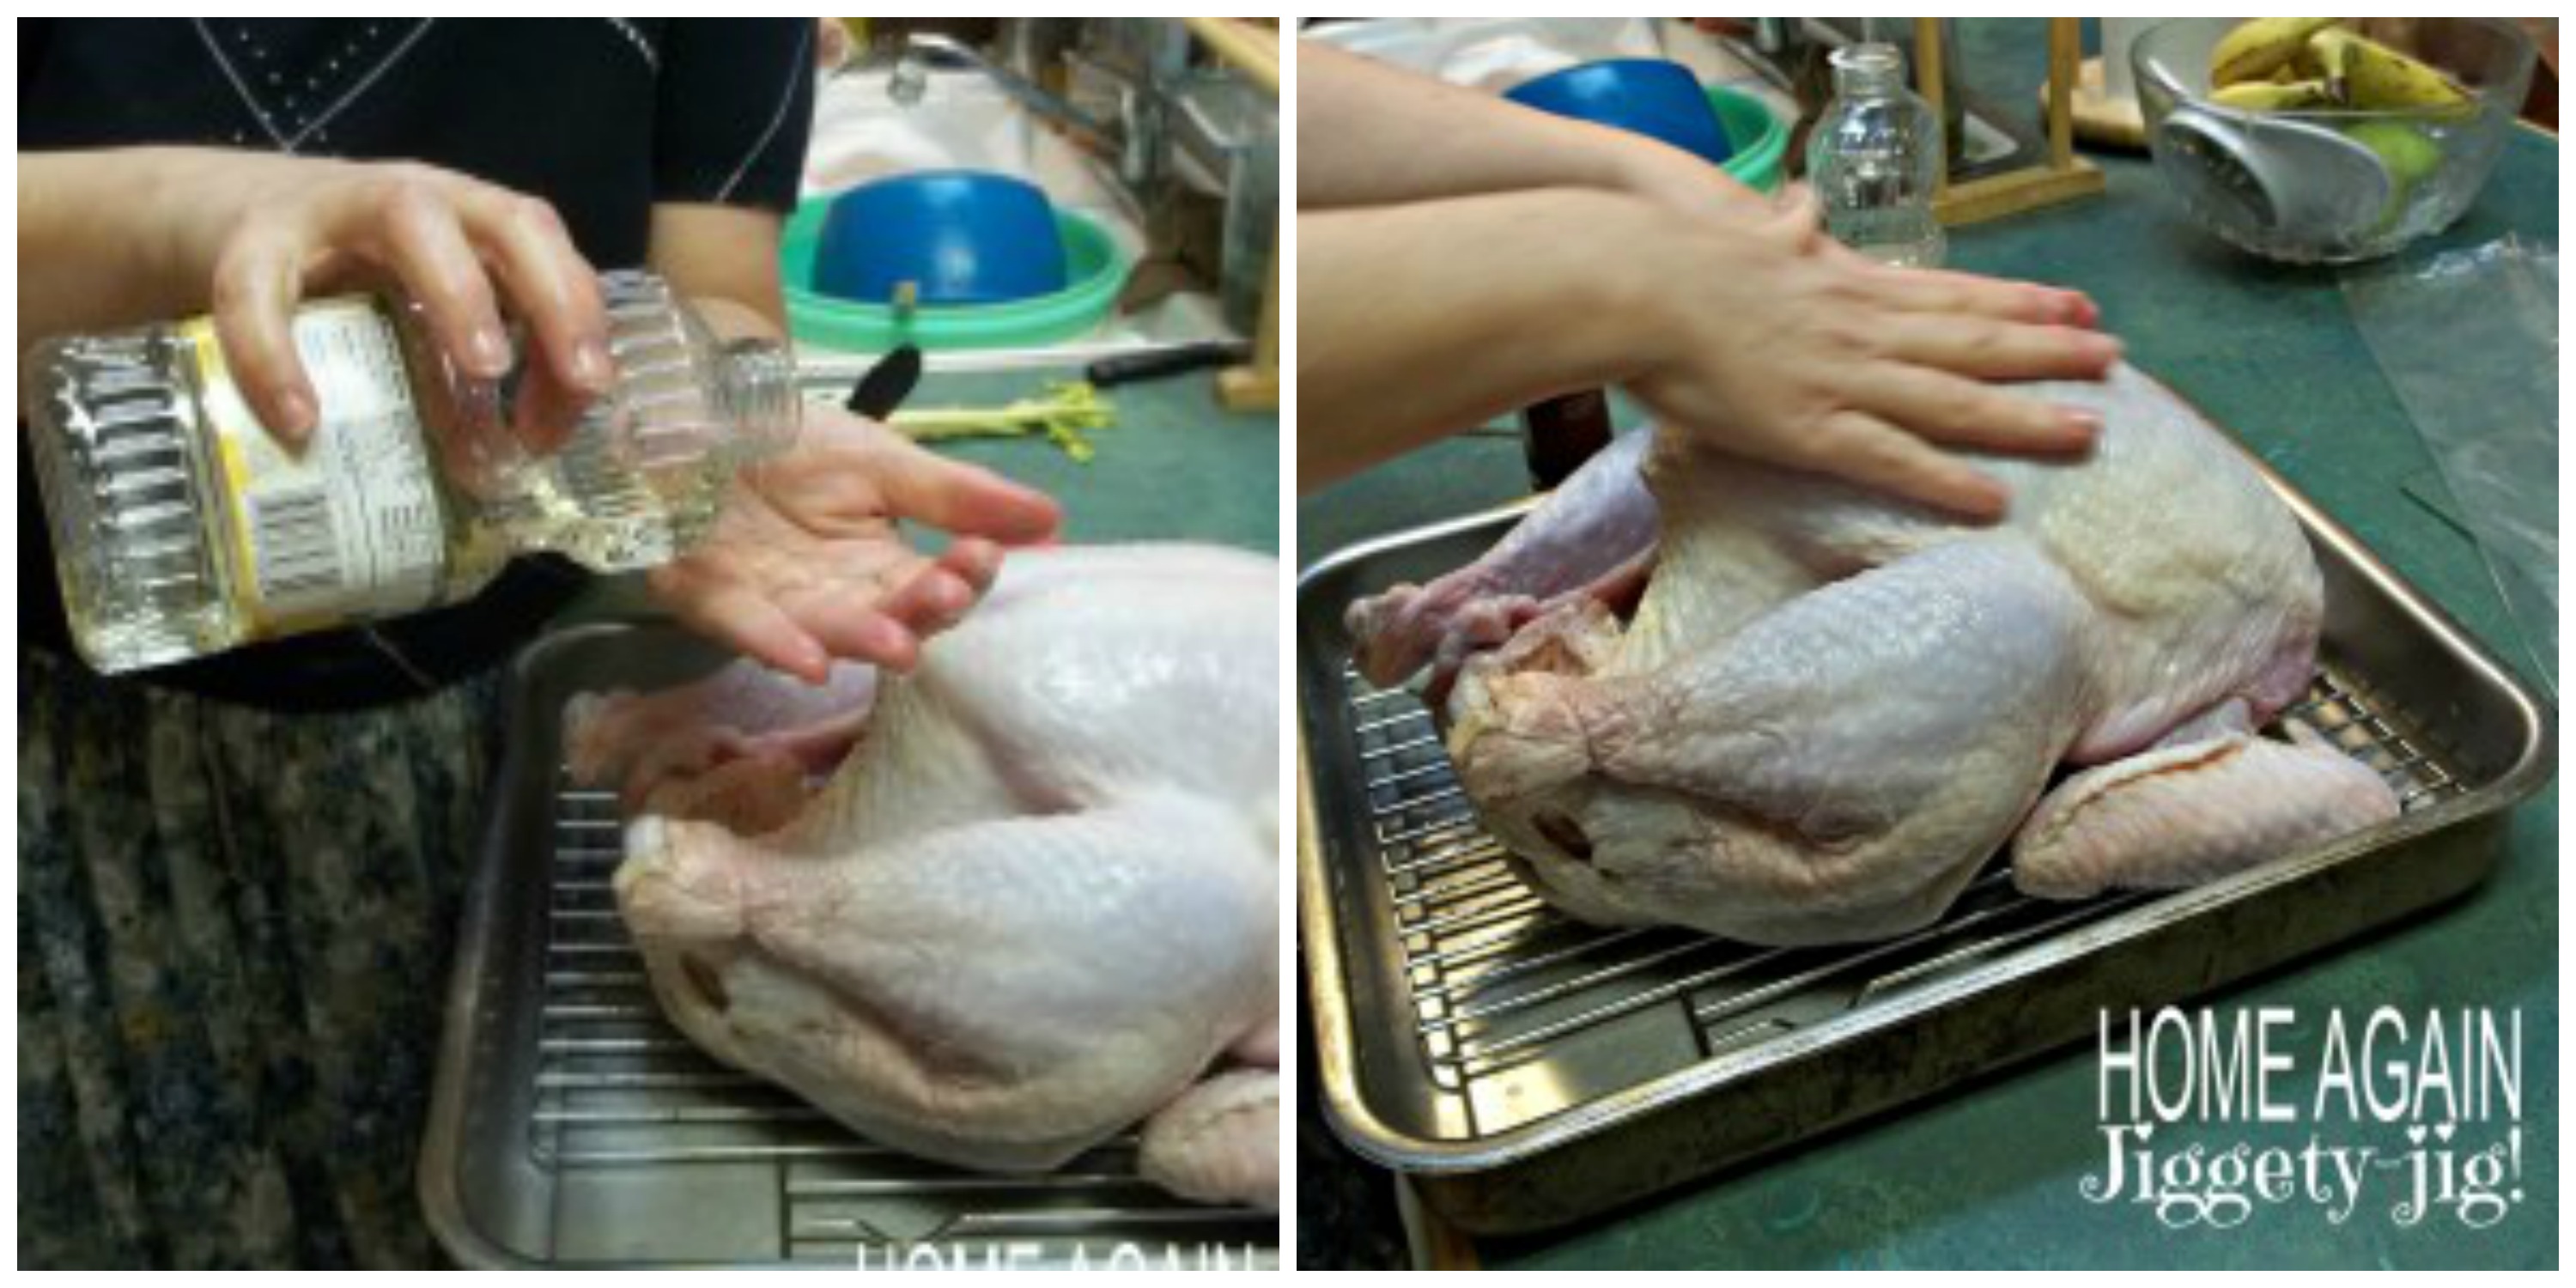
Grease the turkey breast by rubbing some cooking oil on it. My recommendation is to use avocado oil. My brother in law uses butter, and tucks it under the skin. Oiling the skin will help the turkey to turn a golden brown.
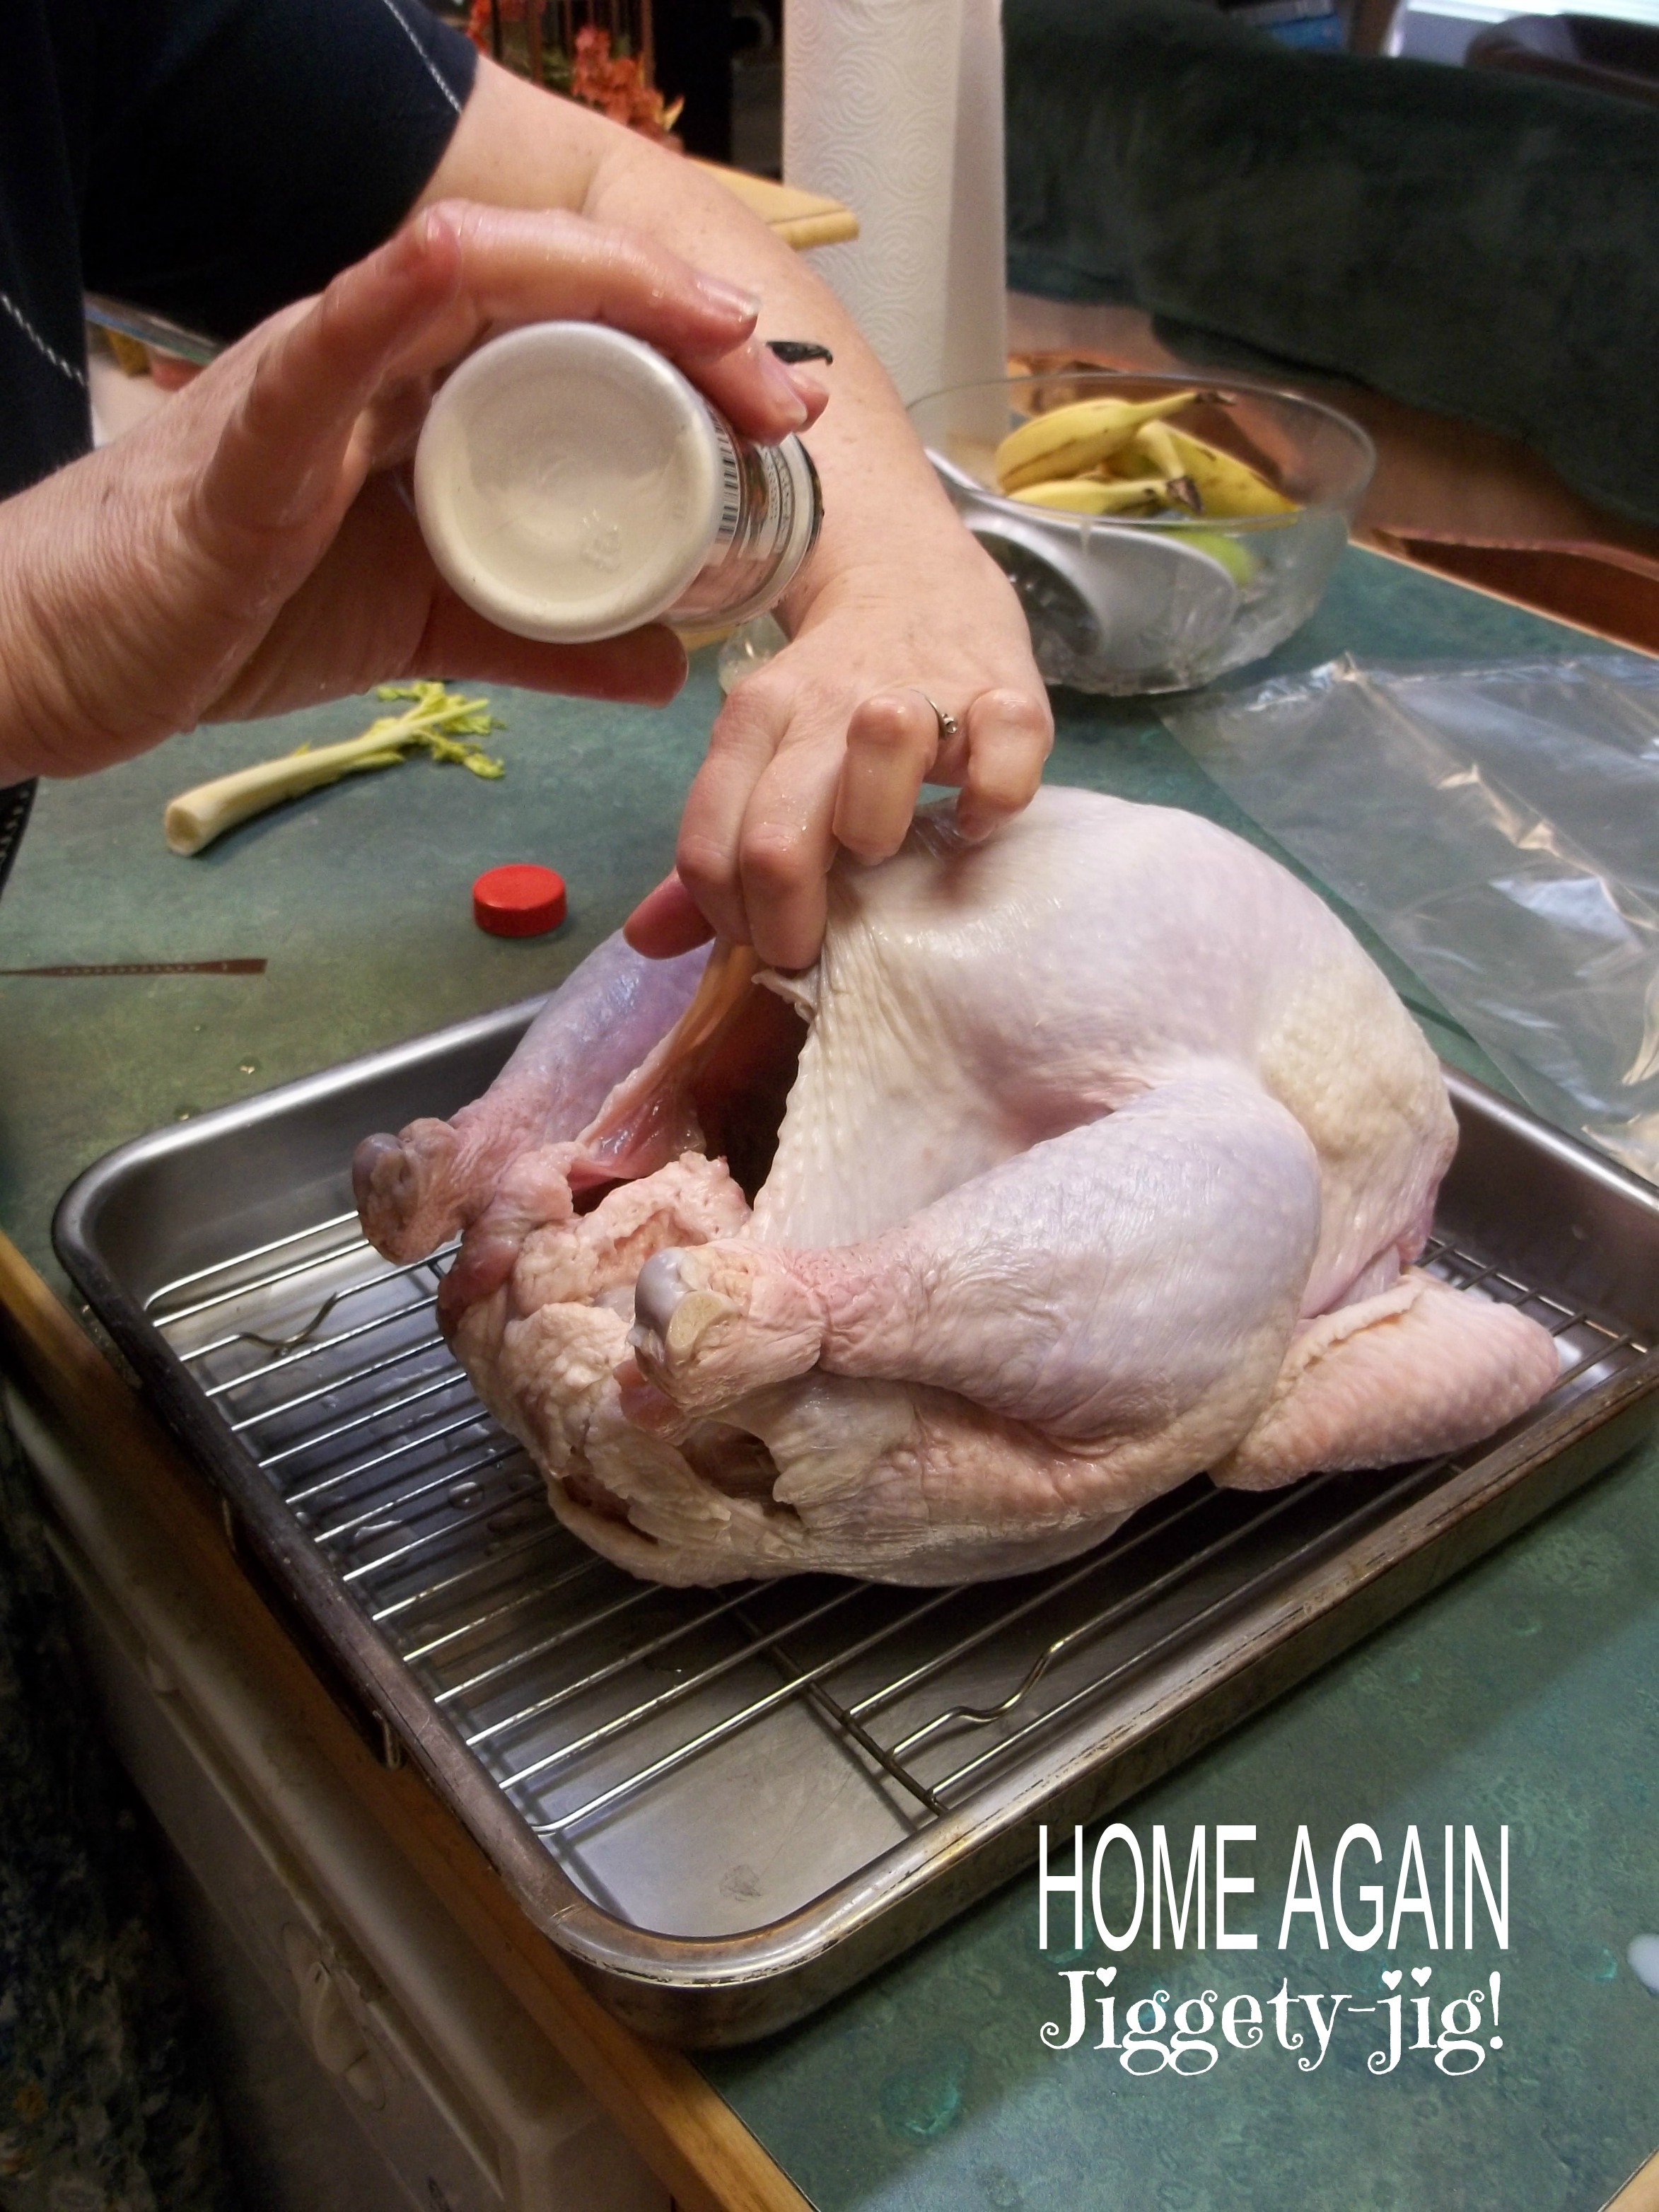
Shake some onion powder into the cavity and, if you wish to add a little extra flavor to the bird, throw a couple of stalks of celery inside too. That combination of flavors will infuse the entire turkey.
9. COMPLETE THE SMALL DETAILS BEFORE ROASTING
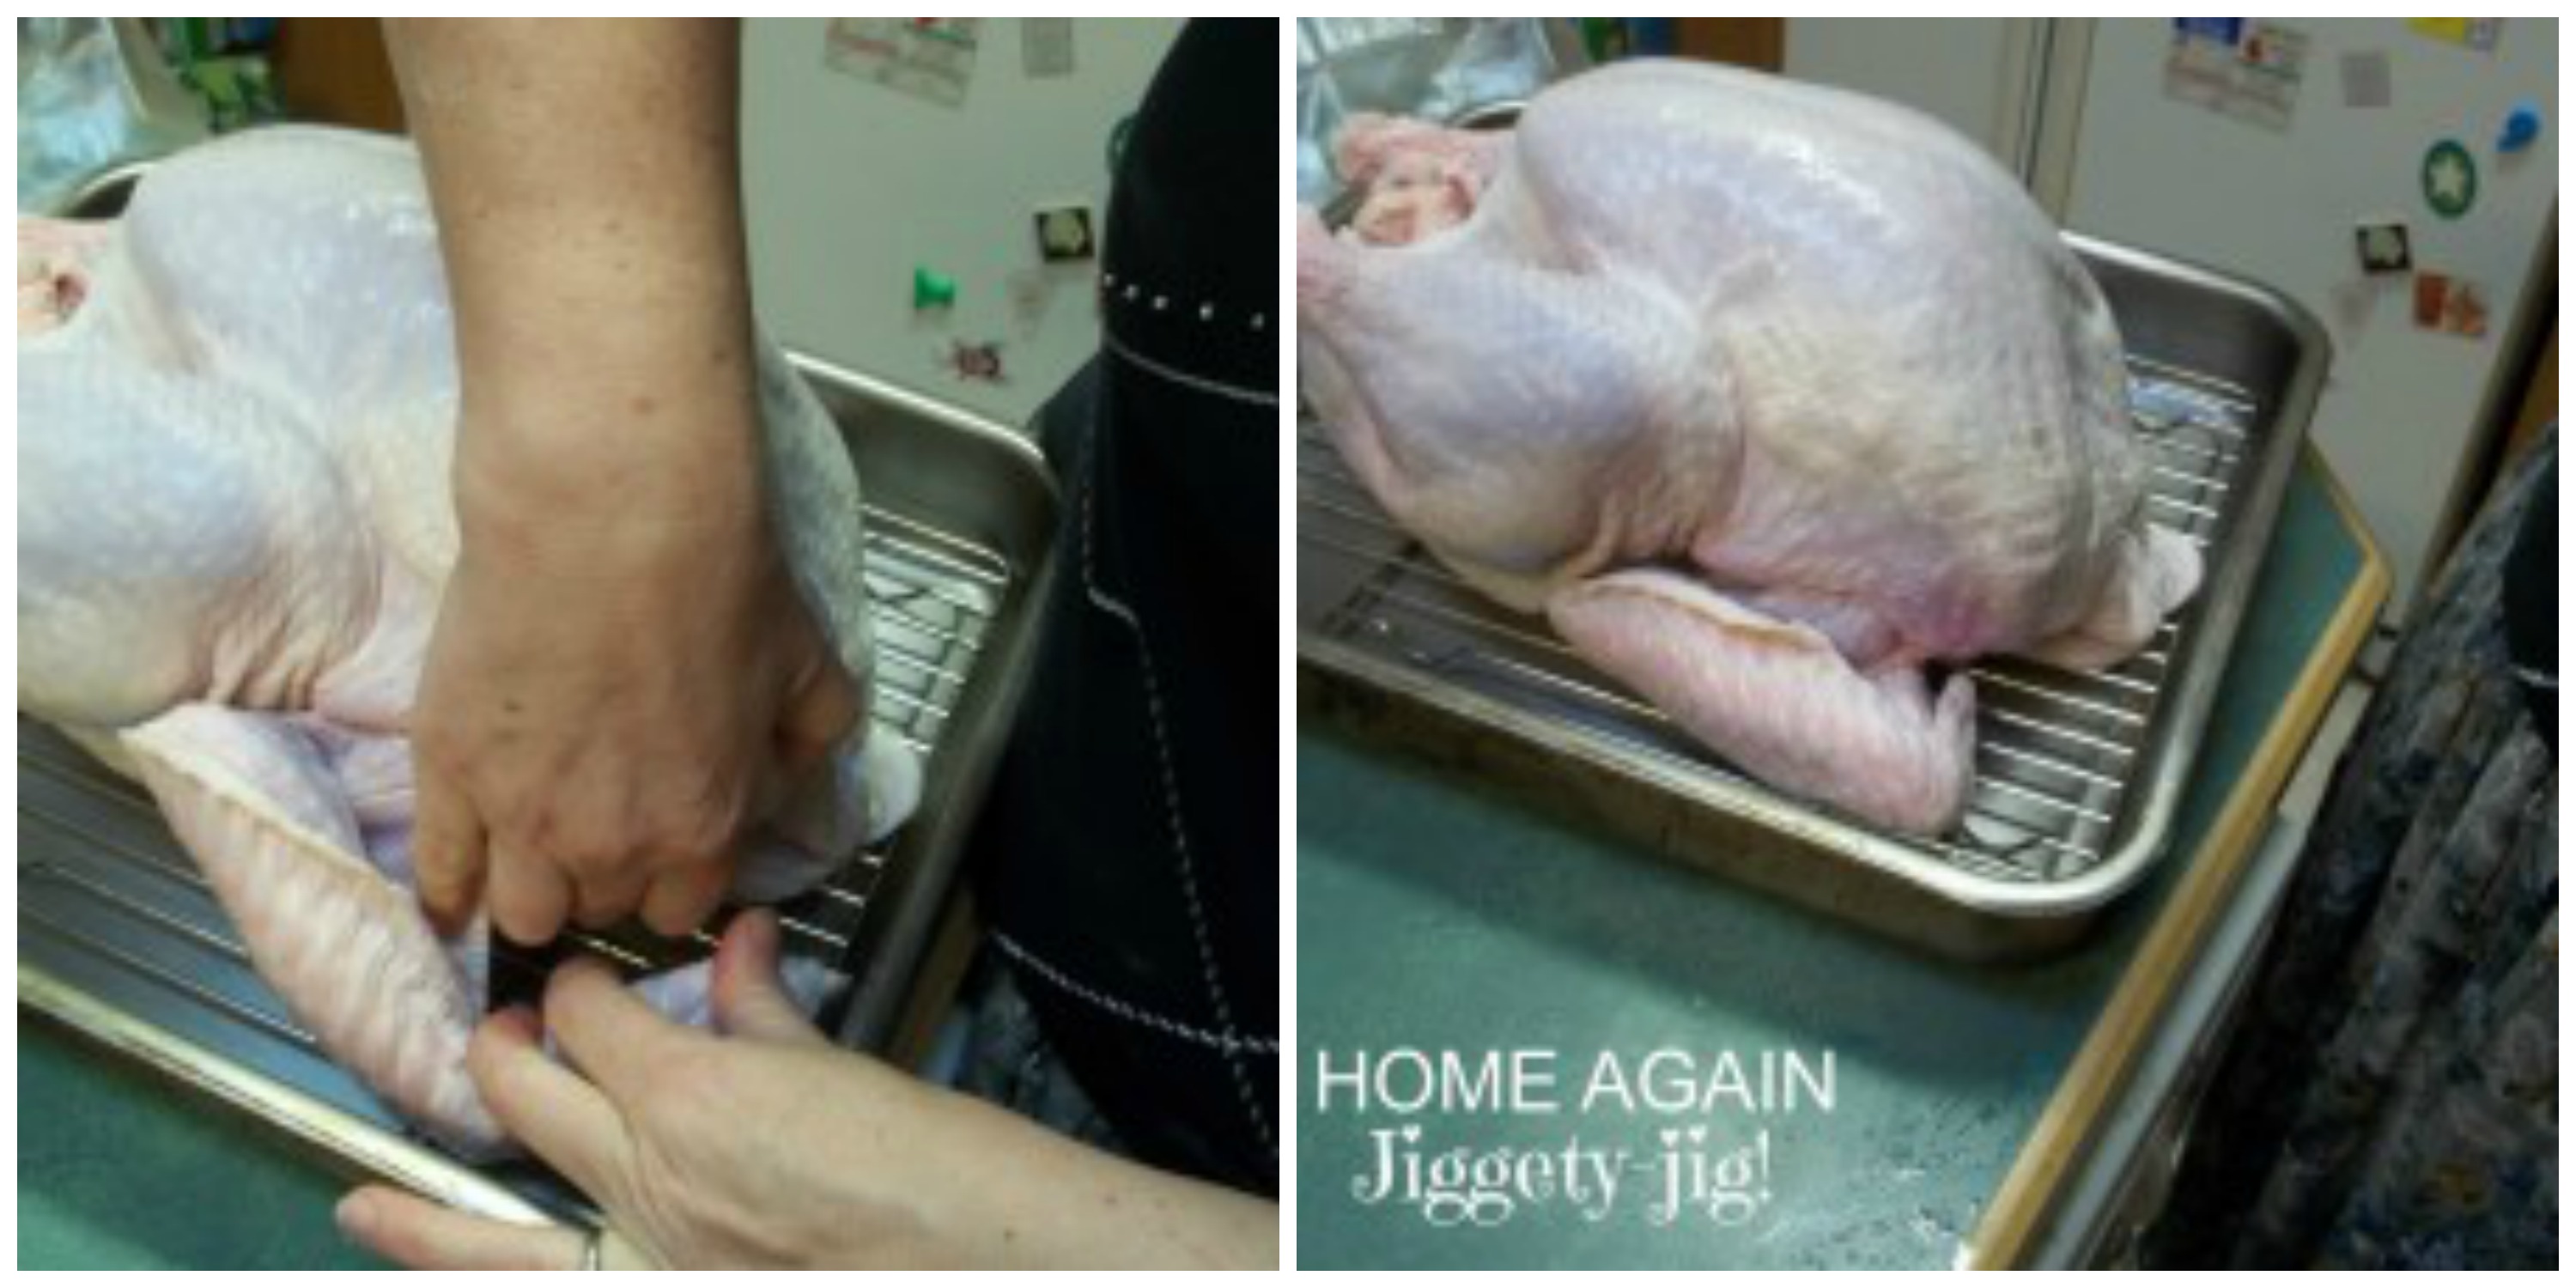
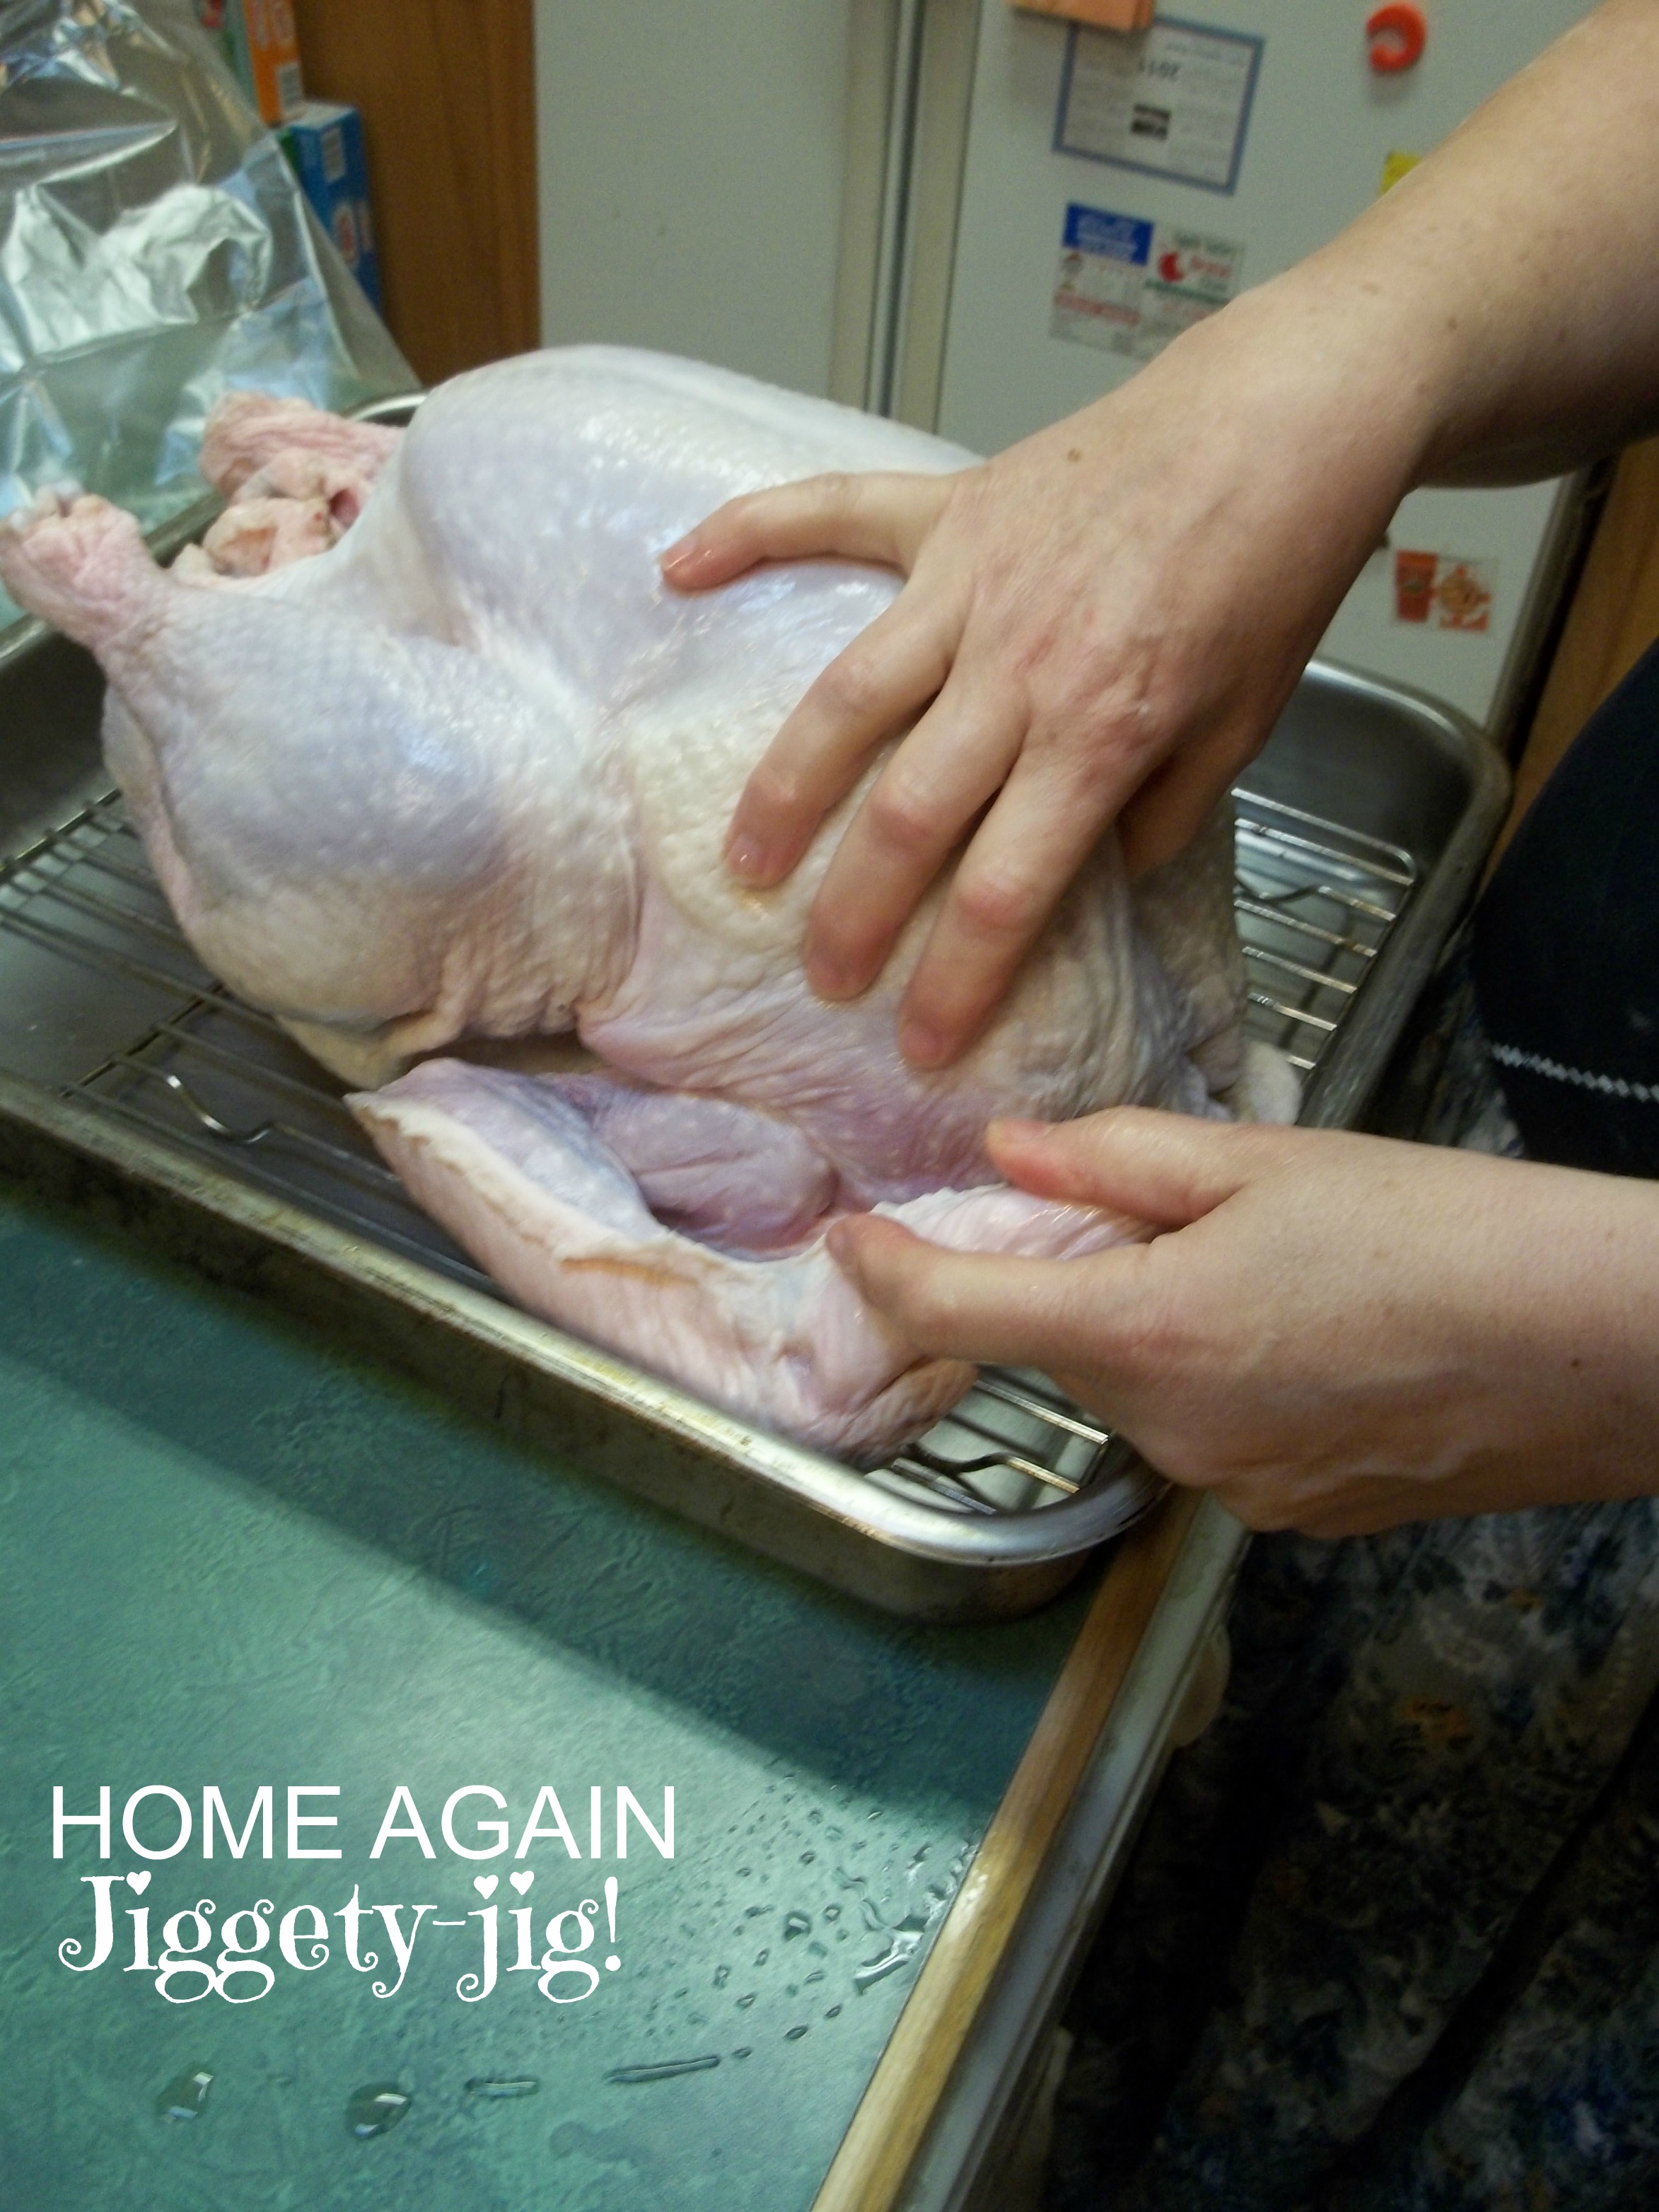
Bend those little wing tips under to make your final results look like the beautiful pictures in the magazines , and to keep them from getting cooked to a crisp.
Open up the cooking bag, Throw a little flour inside the bag and shake it up. Even though the instructions say to put flour inside the cooking bag, you don’t have to. This is especially important if you are eating gluten free. Just make sure the bag doesn’t stick to the turkey or touch the edges of the oven. Slide the turkey into the bag. This is when you might need a second pair of hands again. Haha! Where is “The Hulk” when you need him?
Find the little tie, it will be cleverly hidden in the oven bag instruction booklet. While you are looking in there, check the chart to see how long your un-stuffed turkey will take to cook. Make a couple of tiny cuts in the top of the bag. If you forget, it’s no big deal.
Just make sure the little tie is not too tight, and that the bag does not touch the sides of the oven.
If you are cooking in foil, cut a piece of heavy duty foil two and a half times bigger than the turkey and wrap it loosely over the turkey sealing the edges tightly. Cook for 30 minutes at 450* and then reduce the temperature to 350* for the rest of the roasting time. It may take a couple extra hours. Reynolds has detailed instructions.
10. KEEP IT IN THE BAG OR FOIL UNTIL CARVING
The turkey will be finished cooking when the thigh temperature is 155*. It will come up to the optimum temperature of 165* as you let it rest before carving.
You can let your turkey sit for up to an hour before carving and serving, BUT ONLY IF YOU LEAVE THE COOKING BAG OR FOIL CLOSED.
If you have other things that need to go into the oven, get them in immediately while the turkey rests, or cook them ahead in a crock pot , electric fry pan or stove top. Don’t take any chances on letting that turkey get into the danger zone (41*-139*).
After you have carved and eaten the turkey, get the carcass into the refrigerator. When you have time, slice the rest of the turkey off and place in zipper bags. Refrigerate as much as you will use quickly, and freeze the rest. This detailed recipe for Old Fashioned Turkey Soup will help you use the bones and meat that clings to them.
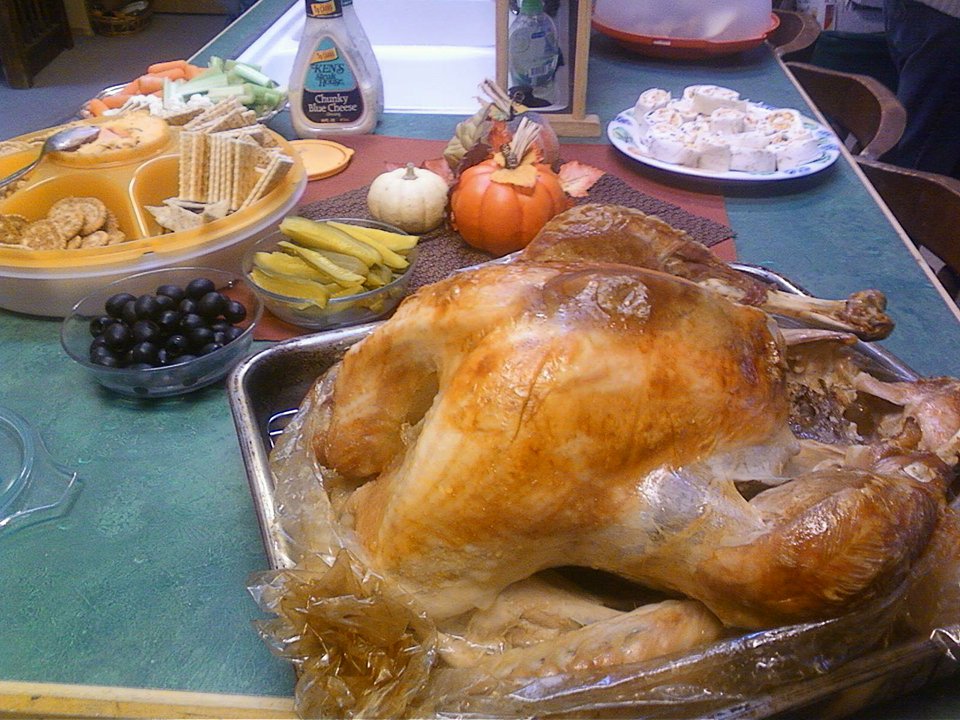
HAPPY THANKSGIVING!
IT’S NOT ABOUT THE BIRD!
“Enter into his gates with thanksgiving, and into his courts with praise: be thankful unto him, and bless his name.”
Psalm 100:4
UPDATED: NOVEMBER 2023
If you heat the stuffing in the microwave before you put it in the bird it won’t be a bacteria haven. I do this every year. Plus, the turkey starts cooking from the outside and inside. Never gets dry.
Great idea of sprinkling some onion powder in the cavity. Yummy extra flavor. 🙂
Great idea, KC! I’m not a stuffing/dressing lover, hence I have my sister or daughter make it separately. Thanks for checking out my post!
Nice tips Marji! I have never used a cooking bag to roast a turkey. I might try that!
The cooking bag really does an excellent job.
This is great advice! Especially #2, good to know!
Thanks, Leslie! I’m getting ready to make some extra space in my freezer to pick up an extra turkey before Thanksgiving arrives.
Great tips, the turkey is always my husband’s job on Thanksgiving, I’ll suggest the cooking bag this year!
You are a lucky gal to have your husband doing the turkey!
We never use plastic around food, but I do agree that unless you are buying an organic Turkey, they’re all pretty much the same. Great tips. We always buy more than we need so we have lots of leftovers! I love leftover turkey soup!!
I agree don’t use plastic around food either. The Oven bags, also known as roasting bags, are typically made of food-grade polyester or nylon. They are generally BPA-free, phthalate-free, and approved by the FDA for cooking.
I am looking into other methods – perhaps a butter drenched cheesecloth over the bird. If I try it, and it works, I’ll be updating!
I learned so many things I didn’t know! I love using the cooking bags. It makes cooking it so much easier.
Thanks, Kallee!!! So happy to help.
My mom always tells me use a bag, for your turkey, use a bag! Ugh. Maybe she is right and I should listen even if she is my mom… 😉
It does turn out well – EVERY TIME – as long as you make the little cuts in the bag and cook it for the right amount of time.
I will never forget the first time I made a turkey, I did not remove ALL of the extras. I was so embarrassed when it was carved. I thought that I had gotten them all, but I missed some. ;( These are great tips.
I know – been there, done that! What a fun surprise! NOT!
I’ve never tried an oven bag to make turkey. I’m curious that the skin comes out crispy since a bag seems like it would steam the bird?
It actually browns and pretty much self bastes beautifully.
You make little holes in the top of the bag to let the steam escape. I’m not sure if I’ve ever analyzed the skin of the bird, but it isn’t particularly soft. I’m also looking into a new method of cooking turkeys that I saw on “The Chew” using a buttery “wet” muslin or cheesecloth to cover the skin, therefore avoiding any need to baste. Will update – if I try it.
Where has this post been the past 25 years? Each year I have to refresh myself with the steps and order of making all the dishes for Thanksgiving. This step-by-step guide is so helpful! Thanks!
Thanks! I truly do appreciate the encouragement.
Fabulous tips and just in time, too!!!
Thanks, Betsy. Appreciate it!
I didn’t know that a hen would give you more meat per pound. These are all great tips. Thanks for sharing them .
The long legged Tom carries his weight differently than the chunky little hen. Per pound his long legs cost us more!!! Thanks, Nicky for the encouragment!
I totally agree with every step and glad to confirm with someone I consider a cooking authority that I’ve been doing it right all these years. Now I want some turkey!! Yummy!
Thanks, Nerissa! I’m actually testing a new way to roast a turkey – without the bag. I made the mistake of buying a bag made in China, and couldn’t bring myself to use it, so roasted the bird completely wrapped in foil for the first 3+ hours and then unwrapped for the last hour. It was REALLY REALLY good!!
Pingback:HOW TO GET THE BEST DEALS IN NOVEMBER – HOME AGAIN Jiggety-Jig!
Thanks, Marjie! My Mom always cooked the turkey in foil and I do now. I keep the oven at 450 degrees, it will try lowering it this time. Thanks and Happy Thanksgiving! 🦃😍🙏🏻
Do whatever works for you! I tried the foil tent, but it took so long and didn’t cook through.