 “The easiest thing in the world is to hard boil an egg.” I’ve heard this over and over again through the years, and yet, I know that many struggle getting an egg cooked just right. The biggest reason for this is that there is no “one size fits all” formula for hard boiling an egg.
Our family eats a lot of hard cooked eggs. Every week we boil up at least a dozen, and many weeks even more. The definition of a perfect hard boiled egg is “to be fully set in both the white and yolk,” without any discoloration between the yolk and white.
In my quest for the perfect hard cooked egg, I’ve searched through my large library of cookbooks, (some of which are very old,) and a great many websites including online scientific journals, and have found a wide variety of instructions for perfectly boiling an egg. Check out these cookbook directions:
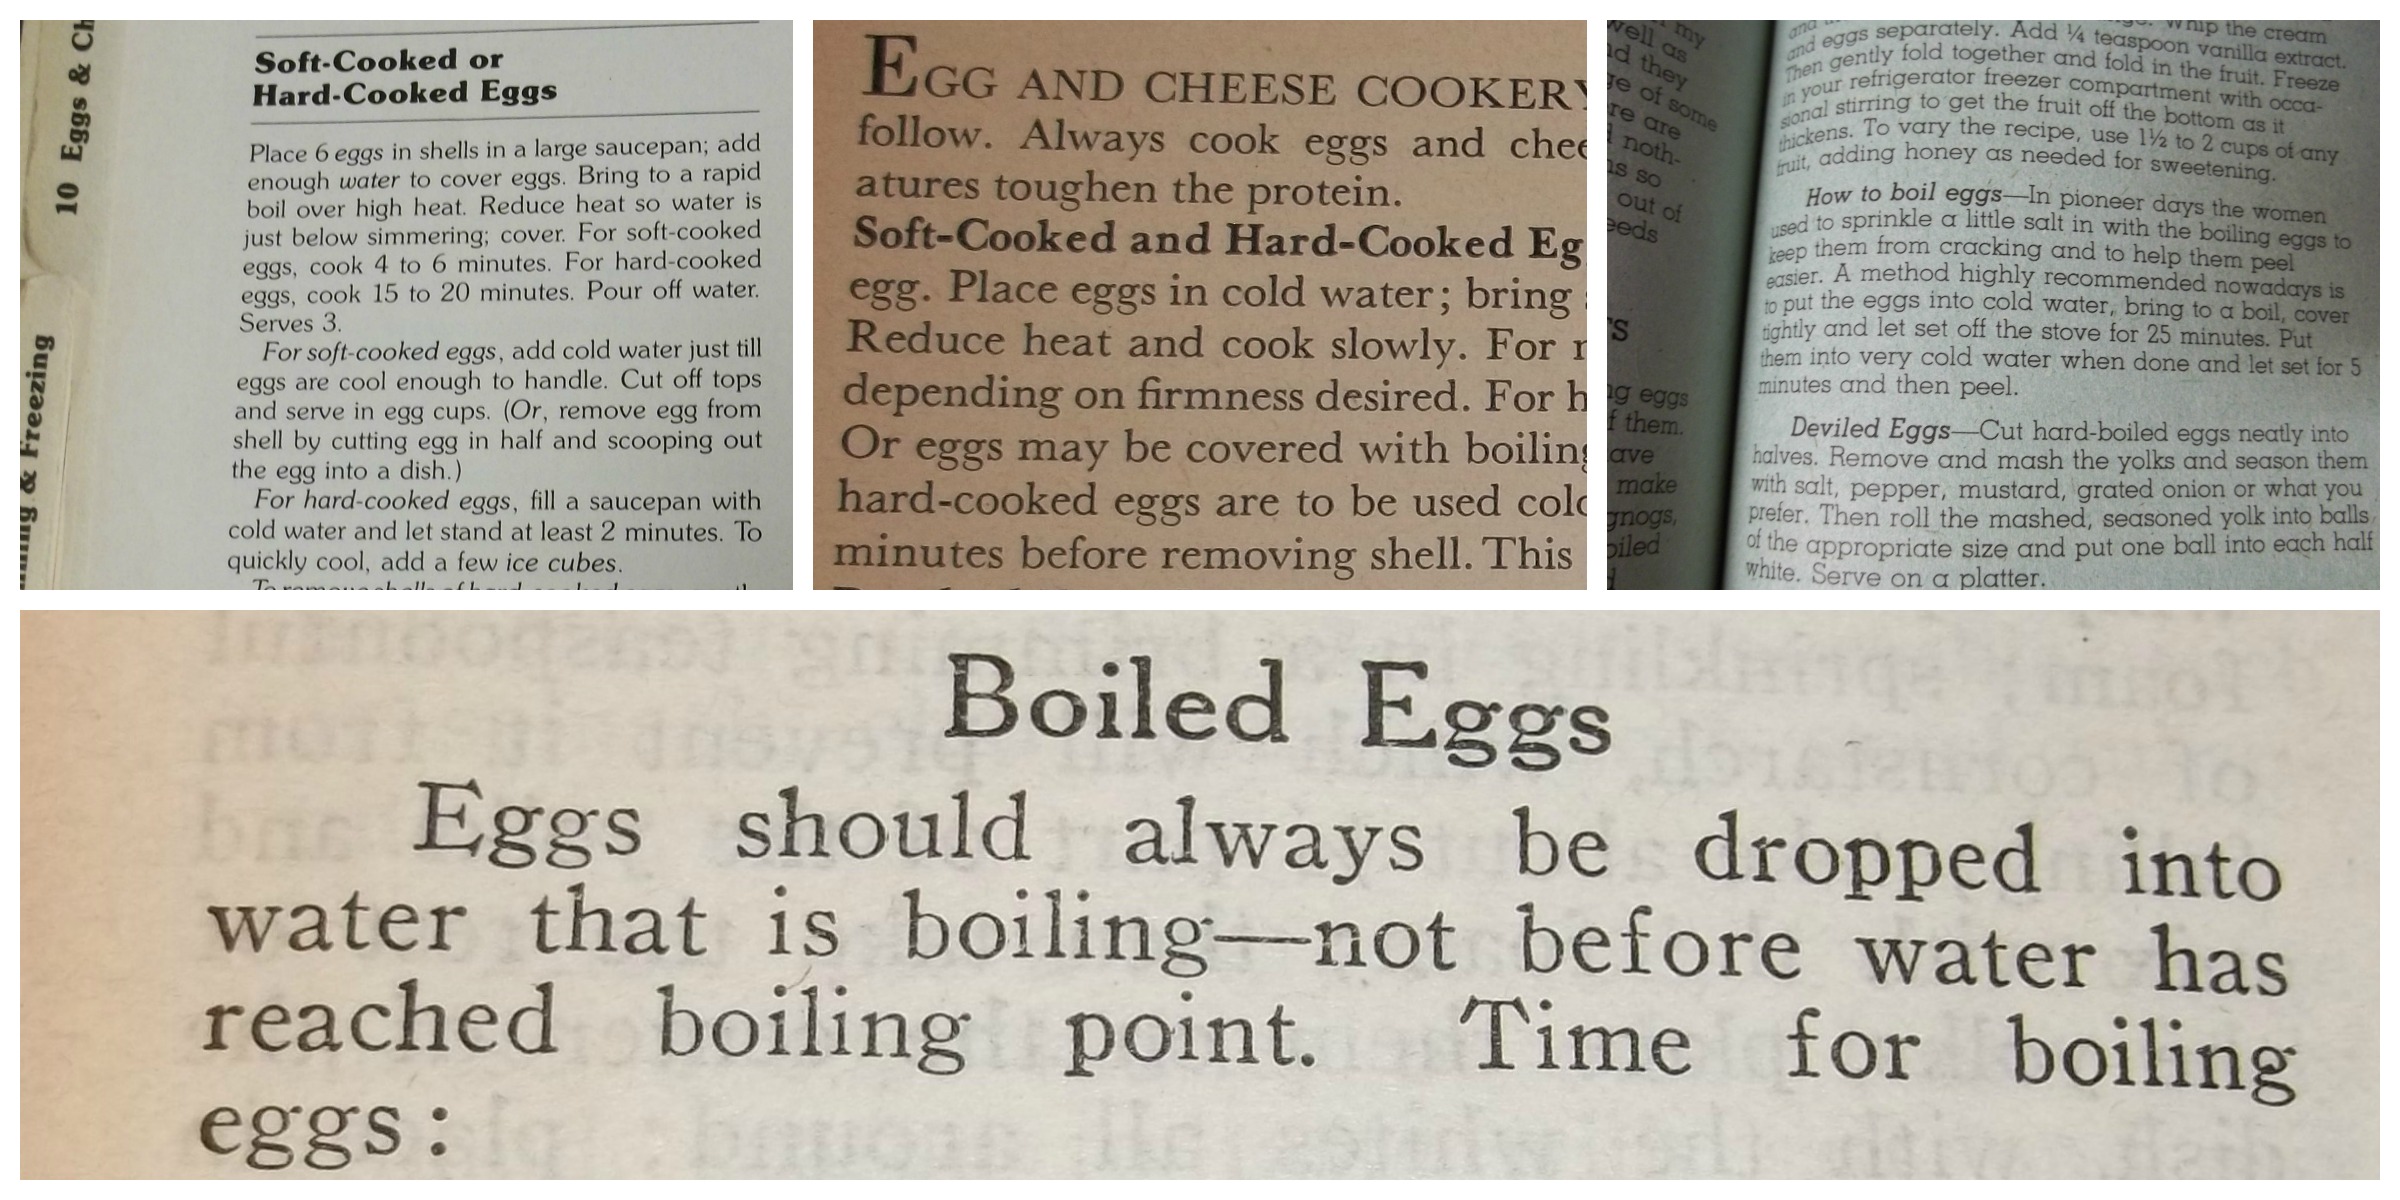
Here are two very DIFFERENT sets of instructions found online:
1. “Cover the egg(s) in cold water and bring to the boil. Leave on a rolling boil for five minutes and then turn the heat off. Leave the eggs in the water for a further five minutes, then crack them and immerse in cold water. This stops them cooking further and prevents the green coloration sometimes found around the yolk.”
2. “Cover with water, bring to a rolling boil and IMMEDIATELY decrease to a mere simmer. . . for a FULL 26-28 minutes.“
These two sets of directions are about as different as night and day, but how can both produce a perfect hard boiled egg? The reasons that one or the other of these techniques might not work where you are is this: The directions for number one will work well, ONLY at sea level, and number two will give you an amazing hard cooked egg, IF you are ABOVE 5000 ft. altitude.
The truth is that altitude has a lot to do with how to hard boil your eggs.
The temperature of boiling water at sea level is 212 degrees F. If you are in a city like Denver which is exactly one mile or 5,280 feet in elevation, water will come to a boil at 202 degrees F. Should you be one of the few to ascend to the top of Mount Everest, at elevation 29,029 feet, the boiling point is only 159.8 degrees F. The general rule of thumb is that the boiling point decreases one degree Fahrenheit for every 500 feet in elevation. The lower the boiling temperature, the longer it takes for eggs to cook, with both the egg and the yolk fully set.
What in the world does that have to do with you and the egg you want to cook? Many summers I have cooked at a family camp located above 4000 ft in altitude. Cooking there is much different than at our home which is at about 1400 feet. When cooking at higher altitudes, things just plain take longer to cook.
This post contains affiliate links. See our full disclosure. If you purchase ANYTHING from Amazon, after clicking on these links, I will earn a little money to help my family and keep my blog going, and it will cost you nothing extra!
If you have come up with a plan to boil eggs that works for you, you can stop right now. If not, READ ON!!
If you consistently have trouble getting your eggs to turn out right or peel well, I have searched and researched , and I believe I’ve come up with directions to consistently hard cook eggs, any size, freshly laid, or a couple of weeks old, at about any altitude, using these simple directions. You will notice that I use both terms “hard boil” and “hard cook.” To hard boil is to cook the egg at a boiling temperature. To hard cook is to bring the egg to a boil and then finish the process without further boiling.
FIVE STEPS TO THE PERFECT HARD COOKED EGG
1. Always use a pan that fits the size of your burner. Match the size of the pan to the size of the burner on your stove. Meaning, if you use a small pan, use a small burner, conversely, if you use a larger pan, use a larger burner.
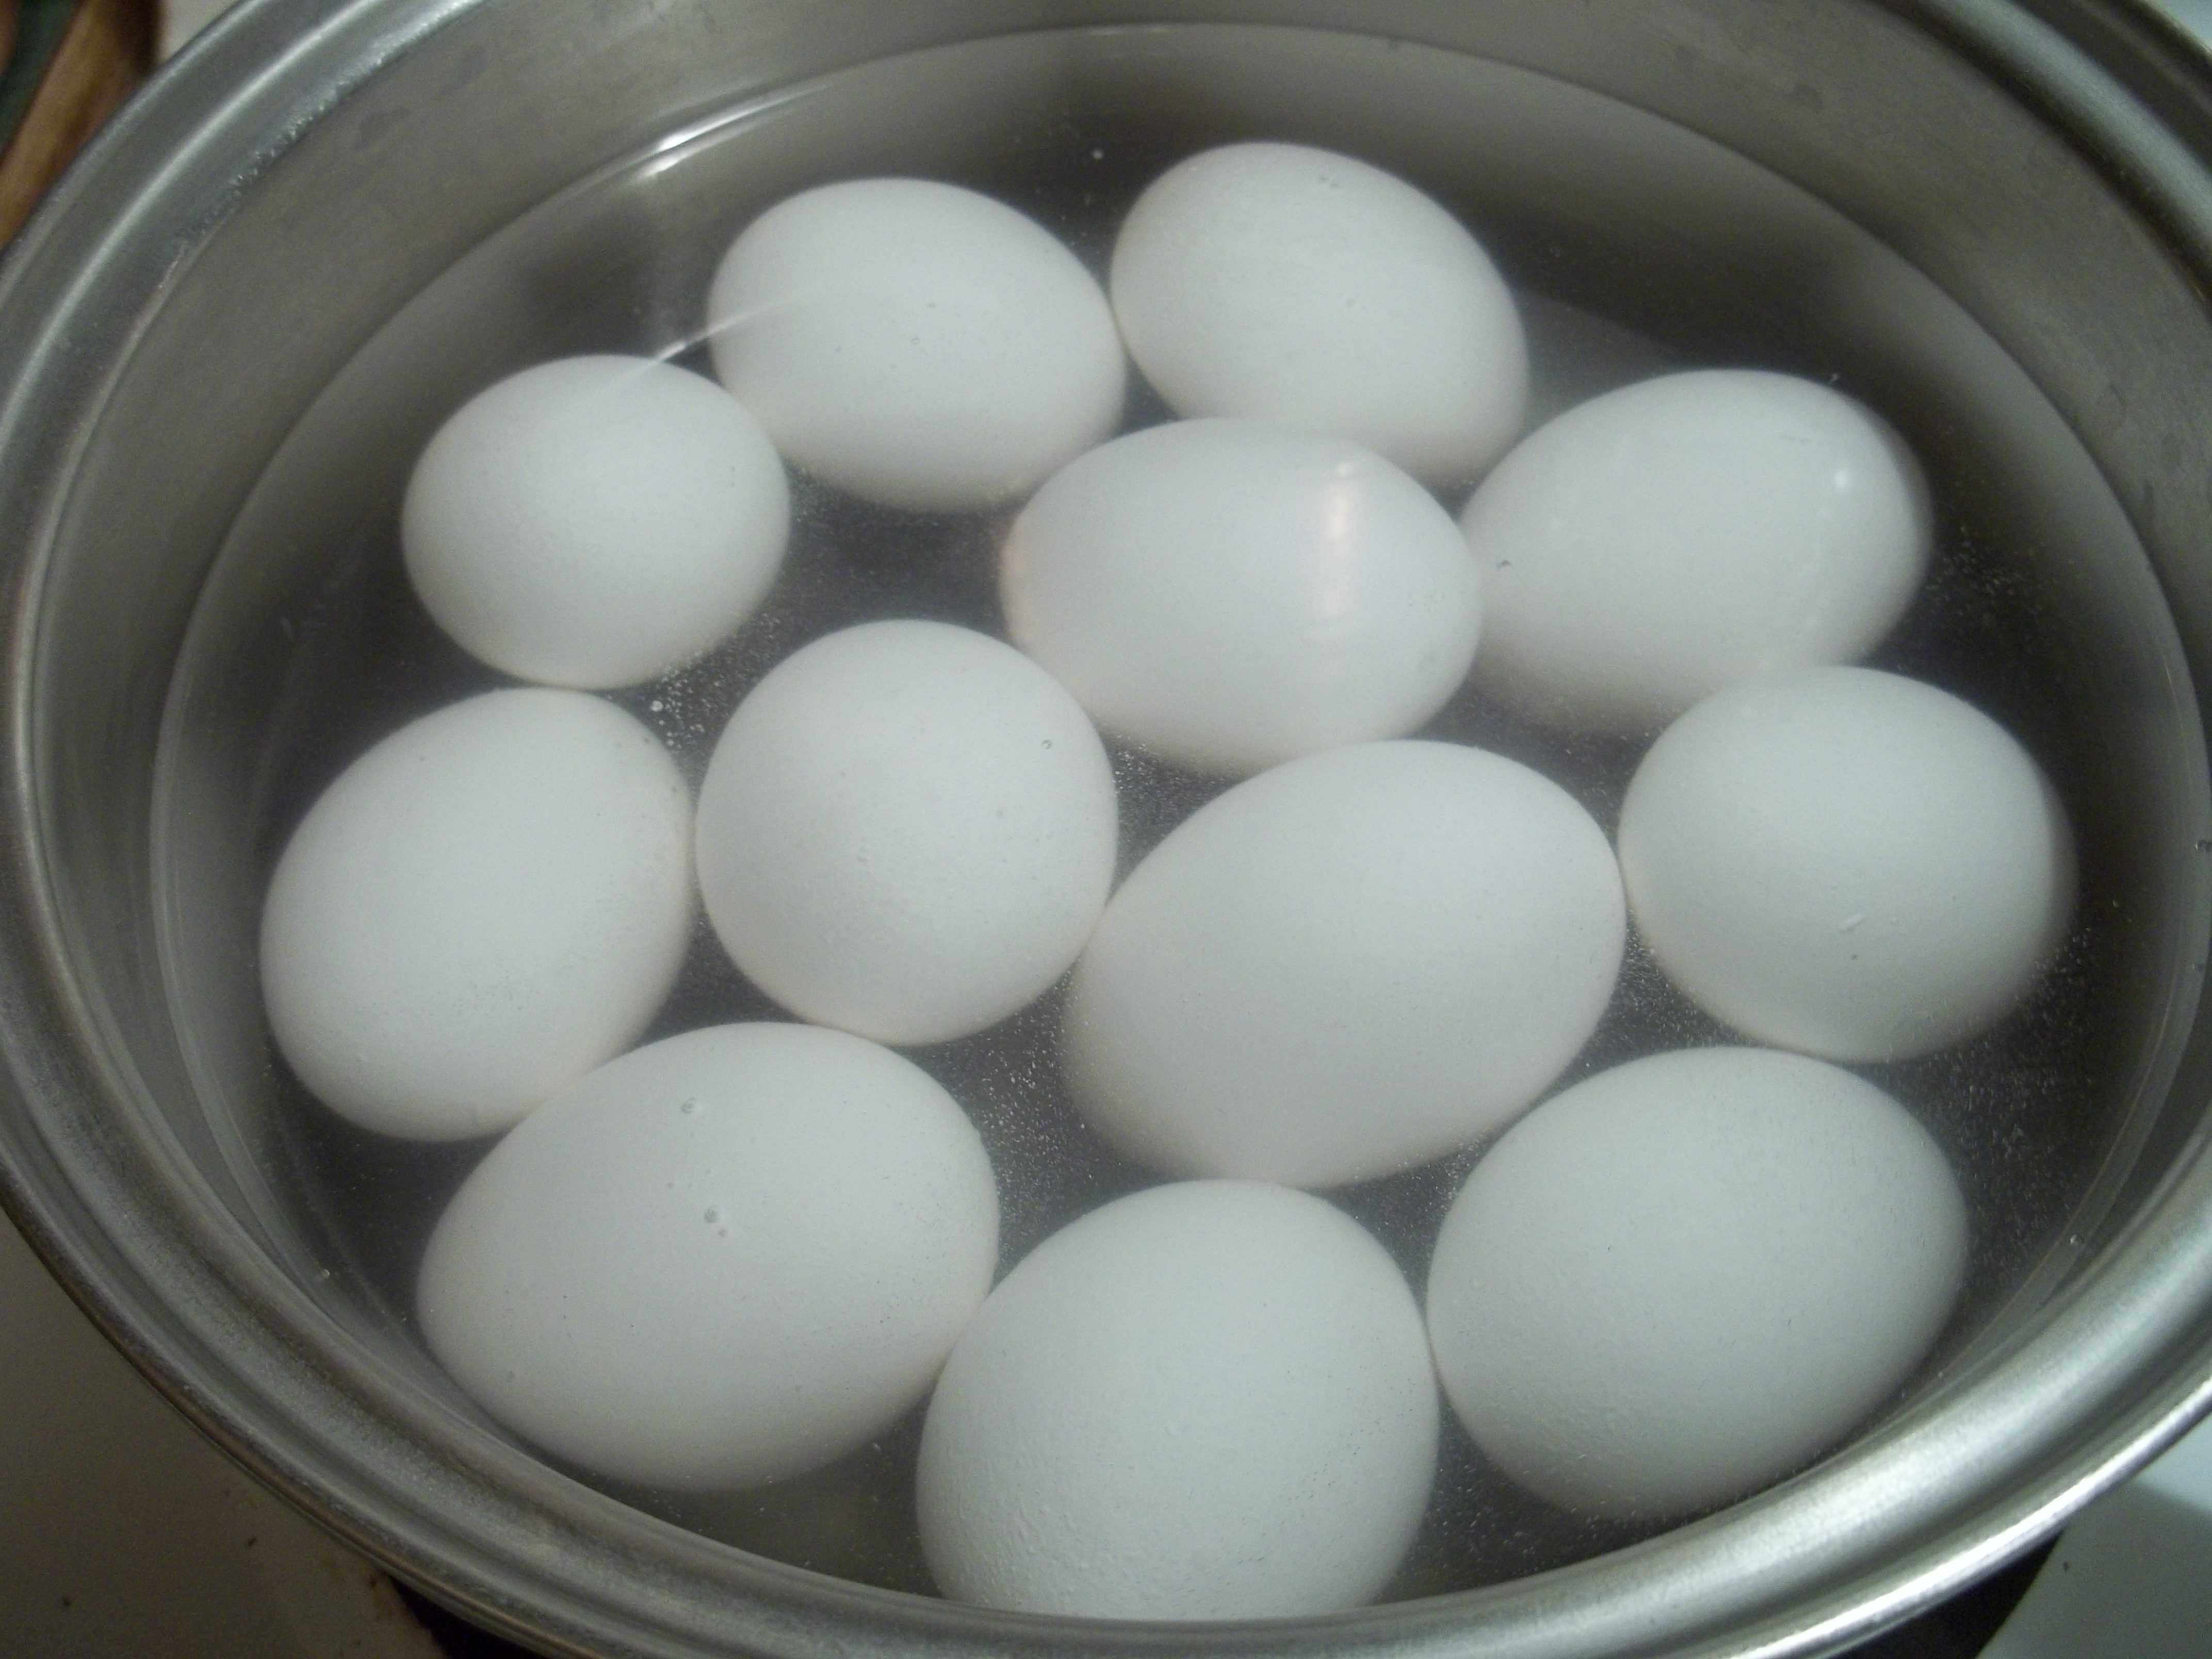
2. Completely cover the eggs with cold water.
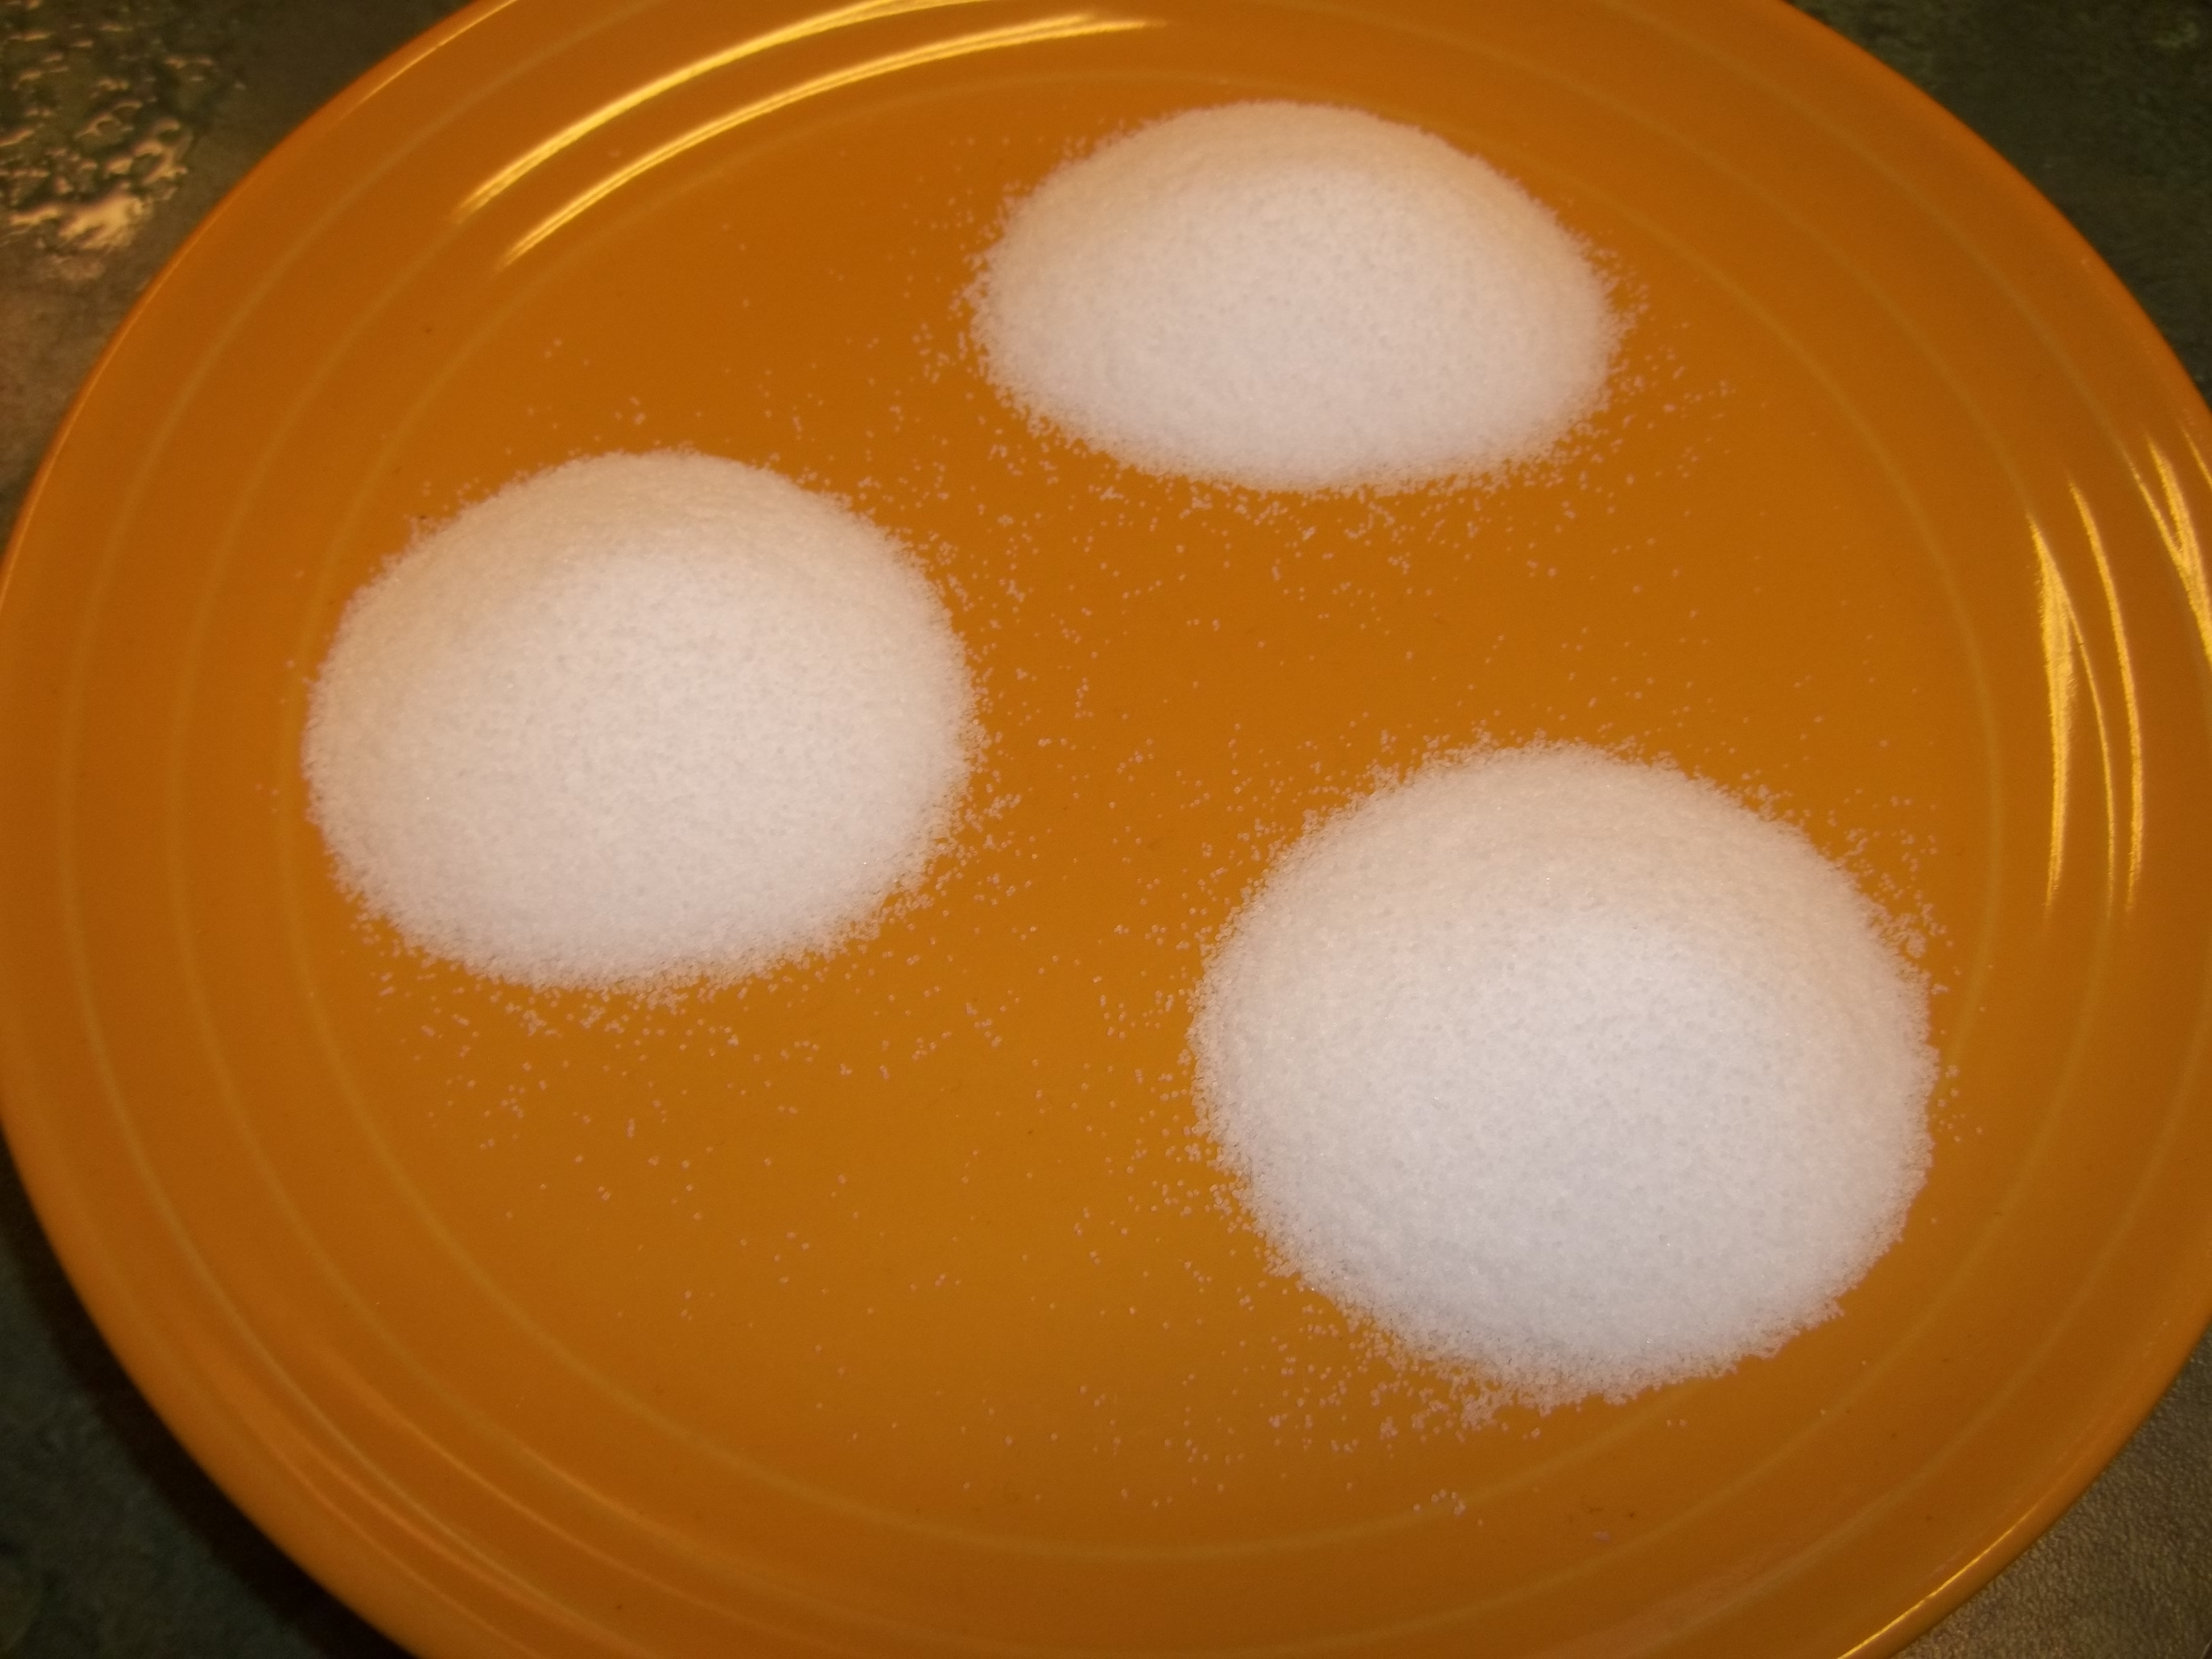
3. Always add salt to the water. When cooking a dozen eggs, add about three tablespoons of salt to your water before boiling. – this will do two things.
a) It will help your water get hotter.
b) It will keep your egg shells from sticking to the cooked egg white.
In short, those three tablespoons of salt make them easier to peel. I’ve tried it with less, and they still stick to the shell. I use sea salt, but any plain old table salt will work.
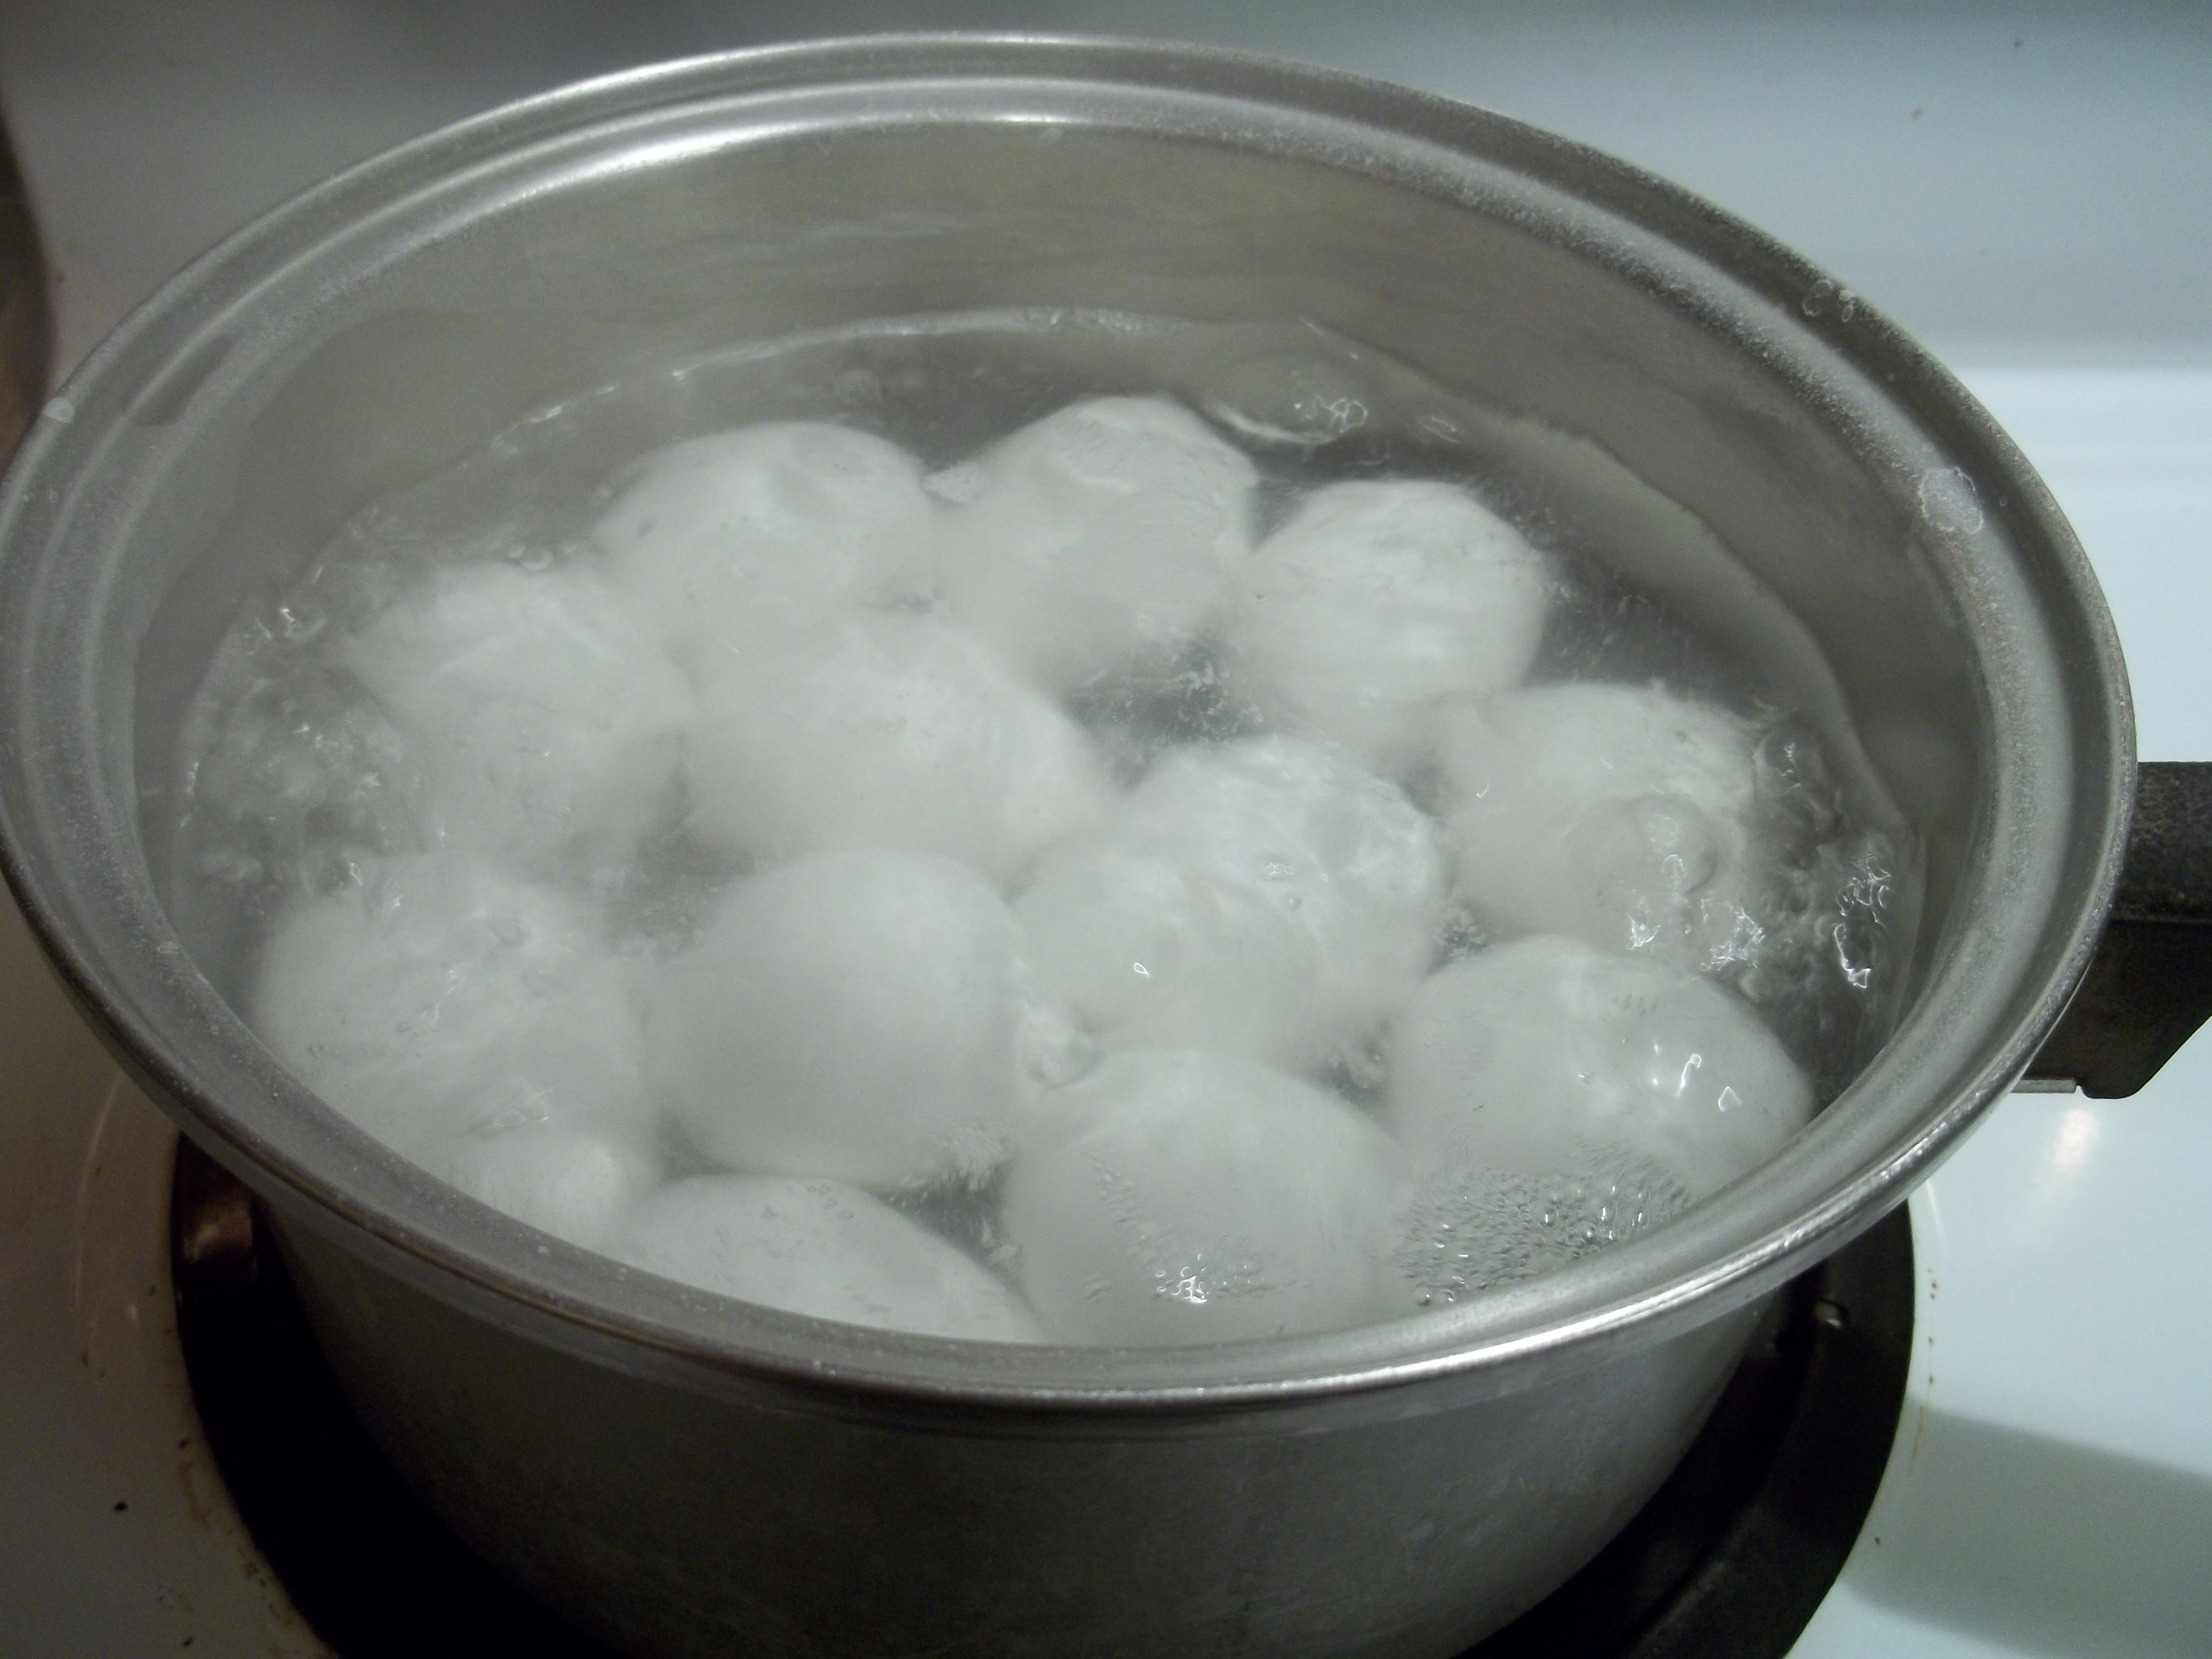
4. Turn the burner to medium high heat and bring the eggs to a rolling boil. This may take some time. When they come to a rolling boil, turn the heat off. Leave the pan on the burner, and put the lid on. At this point, set your timer for 20 minutes and let the residual heat finish the cooking process for that entire time.
If you live at a higher altitude you may want to gently simmer the egg for the prescribed 20 minutes, instead of turning it completely off. To hard cook an egg perfectly, at any altitude, you must avoid a continual rolling boil, as this will make a tough egg. The non boiling technique will ensure that the egg cooks fully, does not get tough, and does not develop a greenish tinge.

5. When the 20 minutes are up, your eggs will be fully cooked. Pour out the hot water and place your eggs in cold water – add ice if you want to insure the prevention of greenish rings around your eggs. Use those cooled eggs right away, or transfer them to the refrigerator to be eaten later.
Check out this beautiful salad recipe that uses hard cooked eggs!
![Seven-Layer-Salad-2[1]](http://homeagainjiggetyjig.com/wp/wp-content/uploads/2014/02/Seven-Layer-Salad-21.jpg)
Updated: April 2017
I’ve never thought about altitude making a difference! I had SUCH an awful time boiling eggs when we were first married, so I gave up. I finally conquered it just the last year or so. 🙂 I like to hard cook them in the oven. They peel wonderfully and have a silky soft texture. But for just a few eggs, I use the boiling method. I boil for one minute and then let sit covered for 12. How funny that there are so many different ways to cook an egg!
It is pretty crazy! Your 12 minute eggs would likely still have a softish center at Denver’s altitude! Conversely, it is so easy to have the outer edge of the yolk turn greenish too.
Thanks so much for sharing with the Let’s Get Real hop. We hope you’ll join us again this week.
Thank you, Gaye.
Thank you, Gaye. Planning on it next week!
There is a science to a perfect egg. I have an egg timing stone that I add to the water. It changes color as the water boils. The eggs come out perfect every time. Adding a little vinegar also helps the shells from not sticking to the egg white.
I’m stopping by from the Let’s Get Real Friday link party. Thanks so much for joining us and sharing this recipe. I hope you’ll join us again tomorrow.
That is so cool! I’ve never heard of the egg timing stone. I haven’t been able to find any information online about them either.
Pingback:MARY’S BLUEBERRY EGGS | HOME AGAIN Jiggety-Jig!
This is very helpful. I love to bake and cook but every time I try to boil an egg something goes wrong! Happy I found your post
Thanks Nicole. I’m really glad that it was a help to you!
Hi. We are close to sea level. Put our eggs pan and cover them with cold water.
Bring water to boil. Remove from heat. Time for15 minutes. Take out of hot
water and immerse in cold water. Store in refrigerator ’til ready to use. Our
peeled well today using these directions. : )
That’s super! Glad that they worked for you, Sylvia!